
By Julie McGuffee
“Ihr Kinderlein rief die Mama, steh auf der Oster Haas wahr da!”
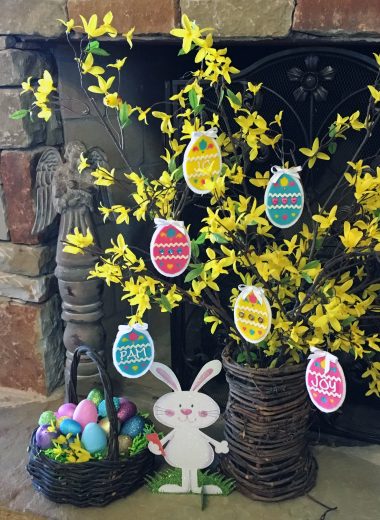
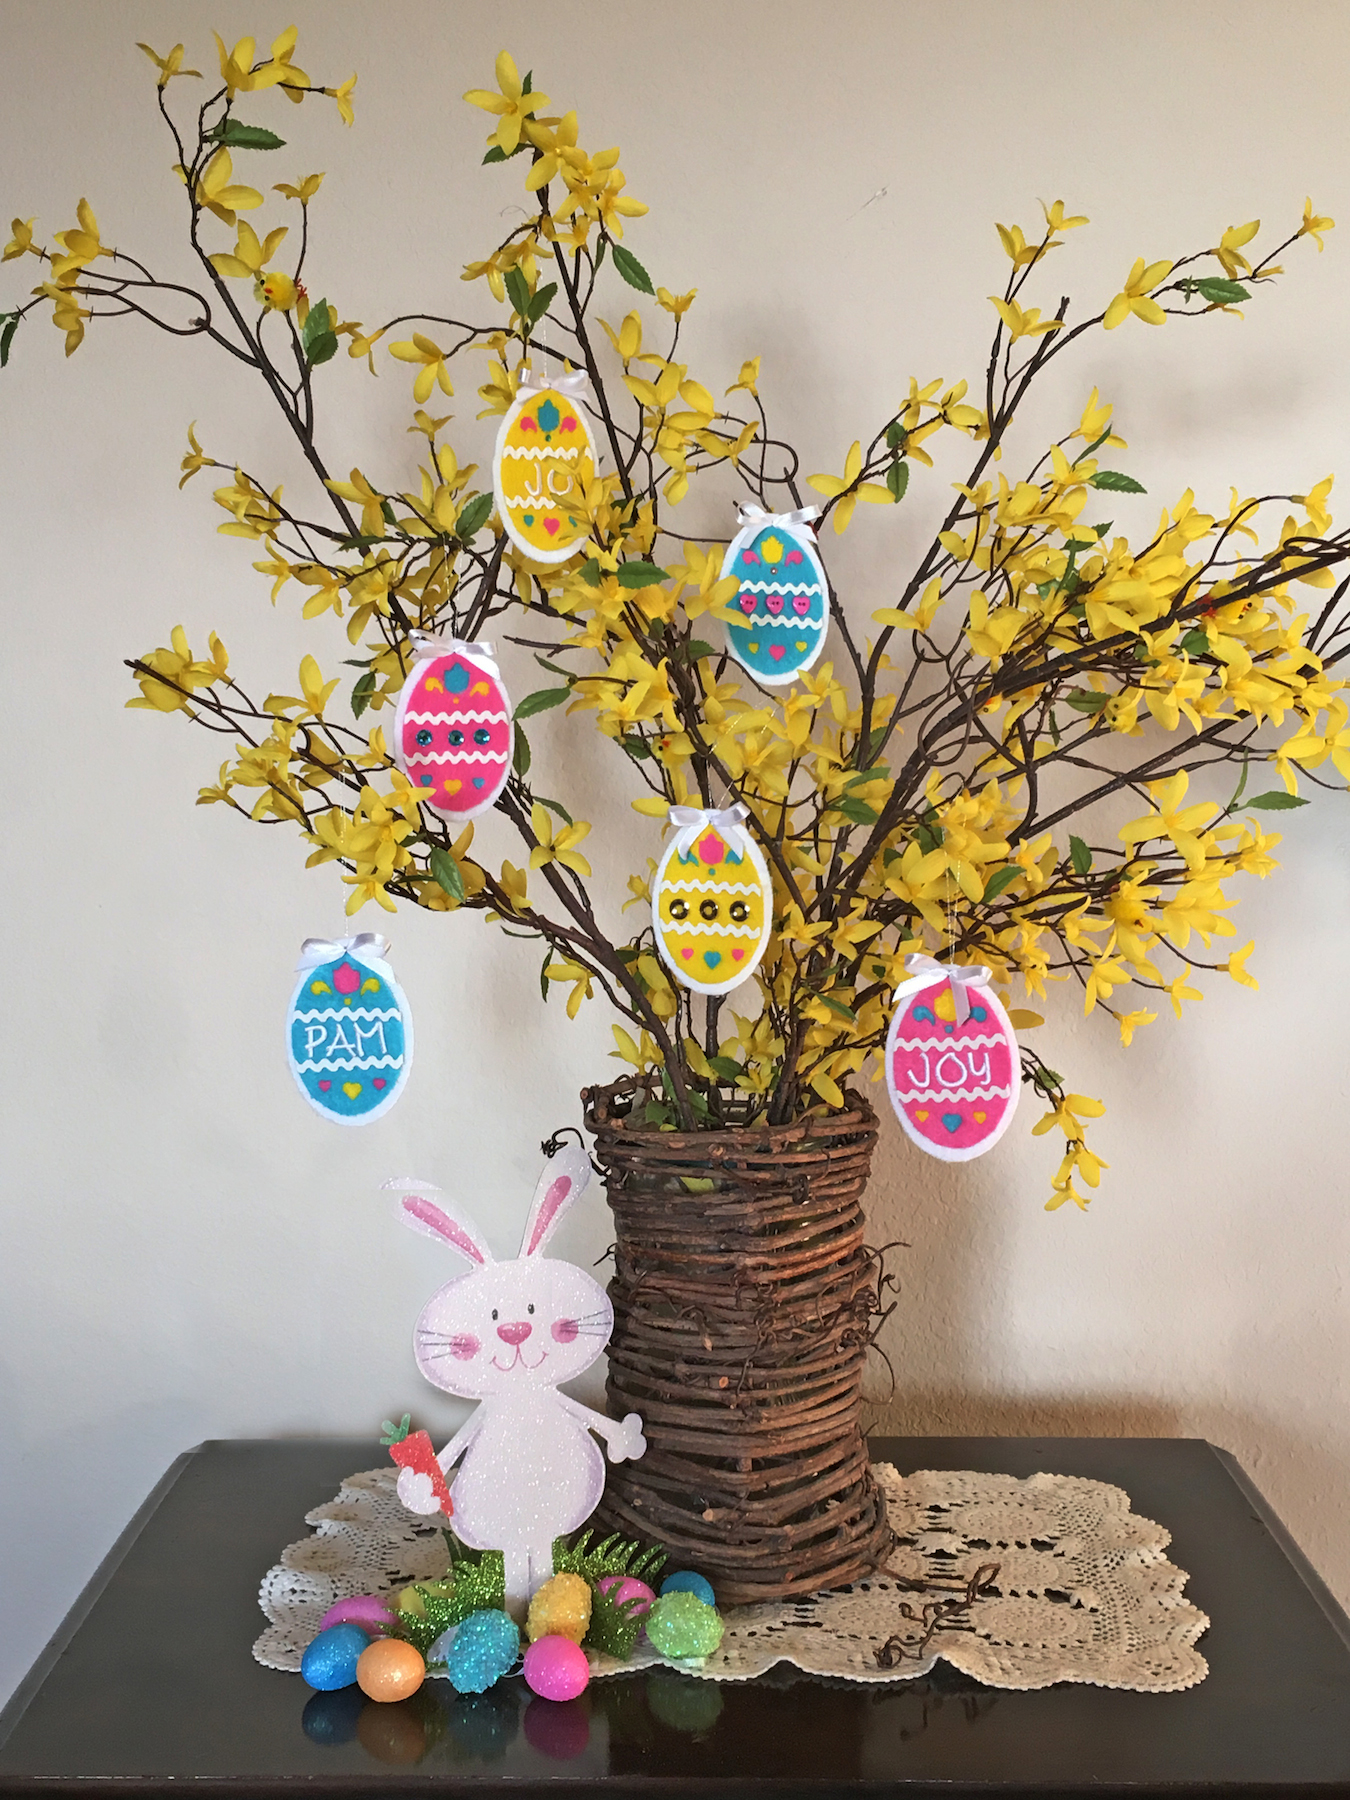
I was used to seeing decorated trees for Christmas, but I had never seen an Easter tree until I went to Germany in the late 60’s. Easter is a wonderful time of year and adopting this tradition for our house has made it even more festive. I collect all kinds of Spring branches to decorate with Easter eggs and this year I’ve added felt decorations!

It’s always a challenge to make more than a few of the same project, unless it’s a very easy one, but with the Cricut Maker®, making lots of decorations is quick’n EZ, especially when you have to cut a lot of felt pieces with an intricate design!
Supplies:
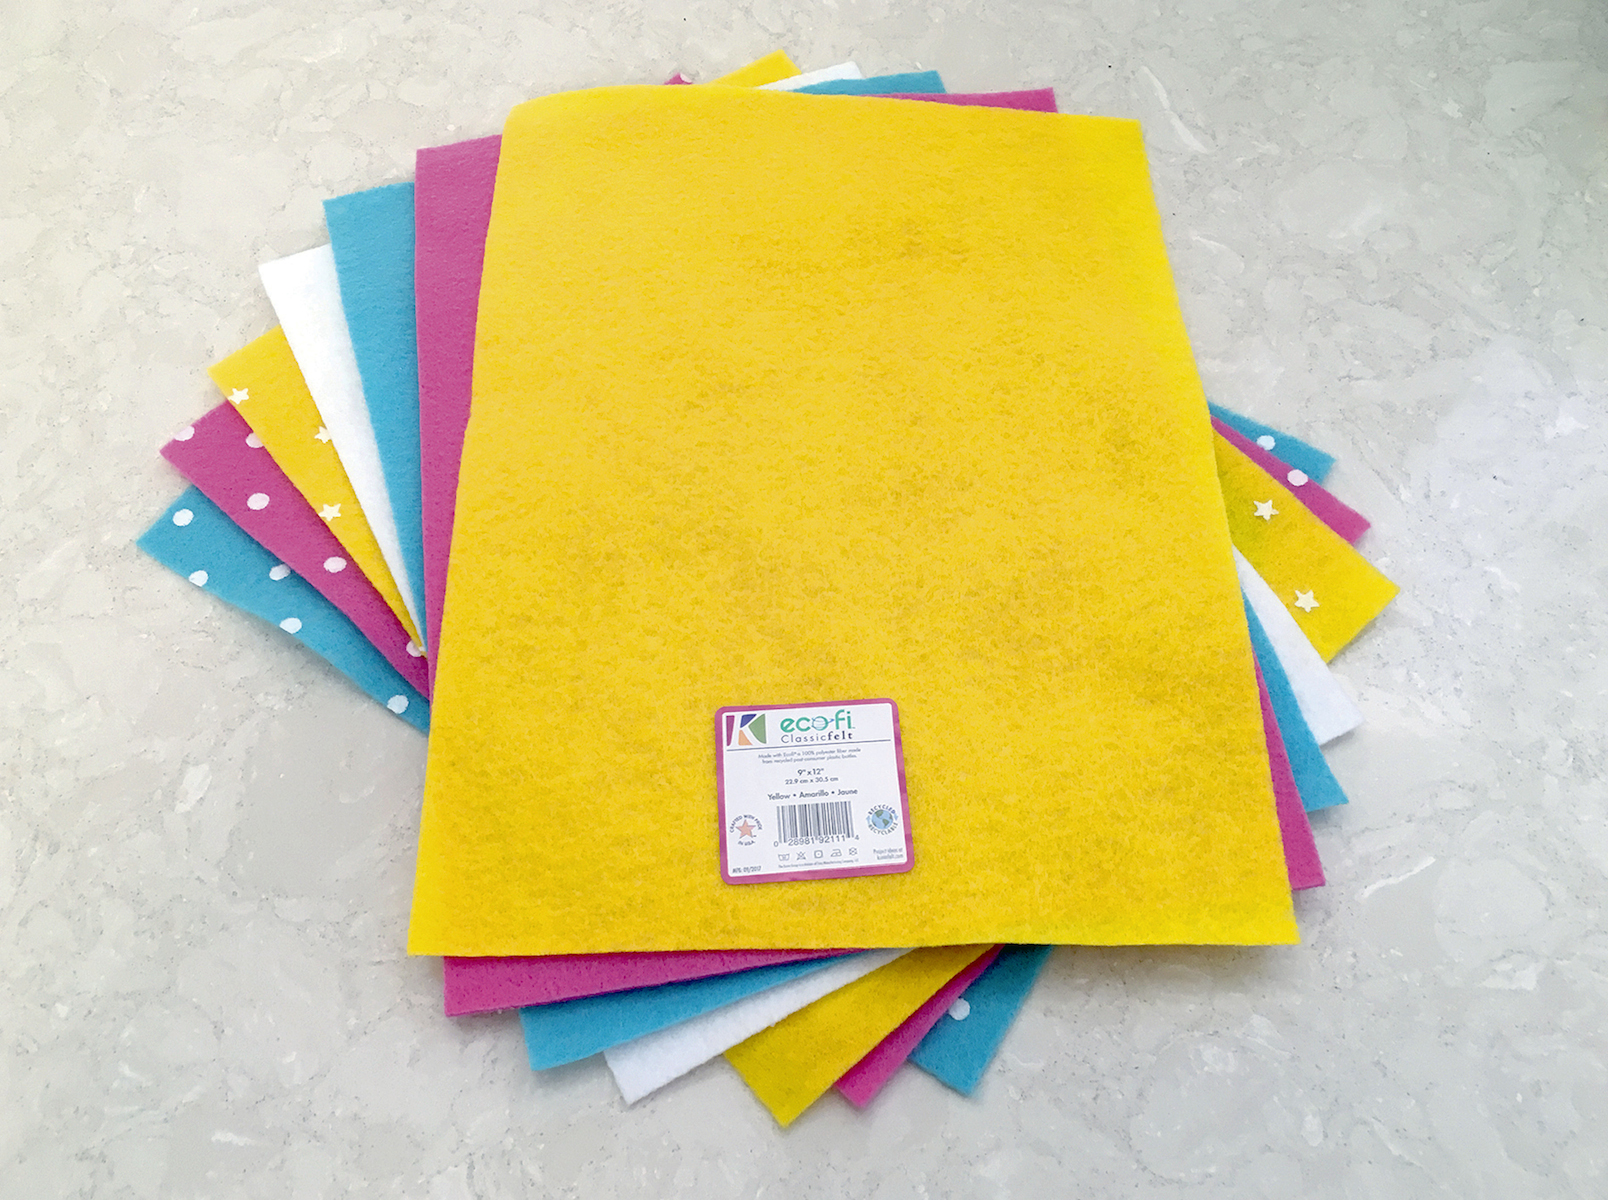
- Kunin Classics™ Felt 9”x 12” – Candy Pink, Lagoon & Yellow
- Kunin White Dot Coordinates – Candy Pink, Lagoon & Yellow
- Kunin Premium Felt 9” x 12” – White
- Small Rick Rack Trim – White
- Joy® Embroidered Iron-on Baby Monogram Letters – White
- Fabric, or tacky glue
- ¼” Ribbon – White
- Needle and thread (to make hangers)
- Assorted embellishments – buttons, adhesive jewels, etc
- Misc supplies – toothpick, craft stick, tweezers, wax paper, etc.
Instructions:
1. Upload both egg shapes into Cricut Design Space.


2. Adjust the height of the simple egg shape to 3 ¼” then cut 6 from white, premium felt. Use the rotary blade setting, set to “more” pressure and place the felt on the pink mat.
3. Adjust the height of the egg shape to 3” then cut 2 of each color of the white dot coordinates using the “default” pressure setting.
4. Upload the second egg shape (with the cut out design), adjust the height to 3” then cut 2 of each color. Remove the felt from around the shapes.
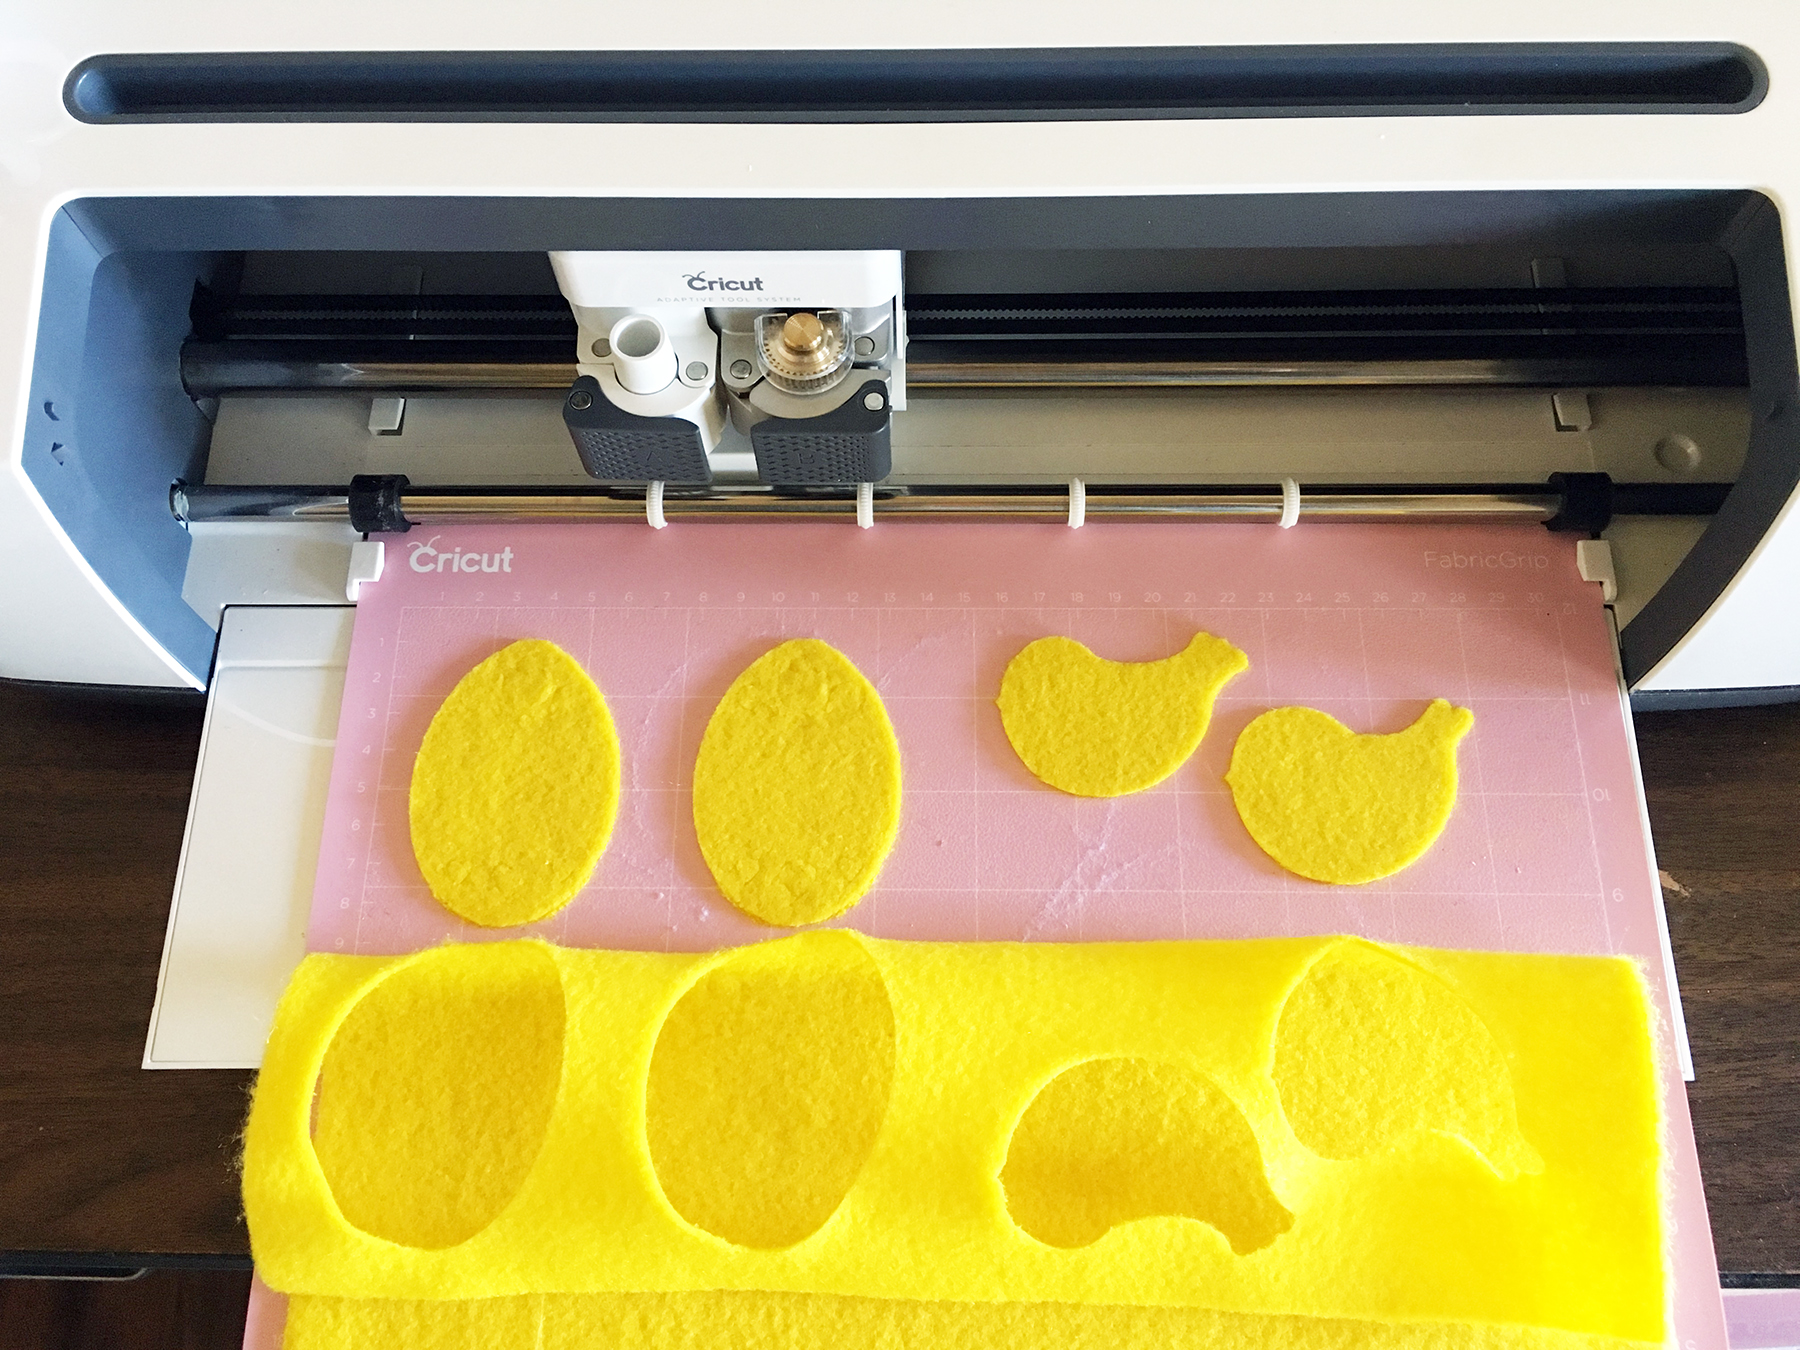
5. Using the weeding tool, carefully weed each shape while still on the mat and set the small pieces aside. DON’T THROW THEM AWAY. Gently remove each shape. Note: Thinking ahead, I also cut some bird designs for another project while I had yellow felt on the mat.
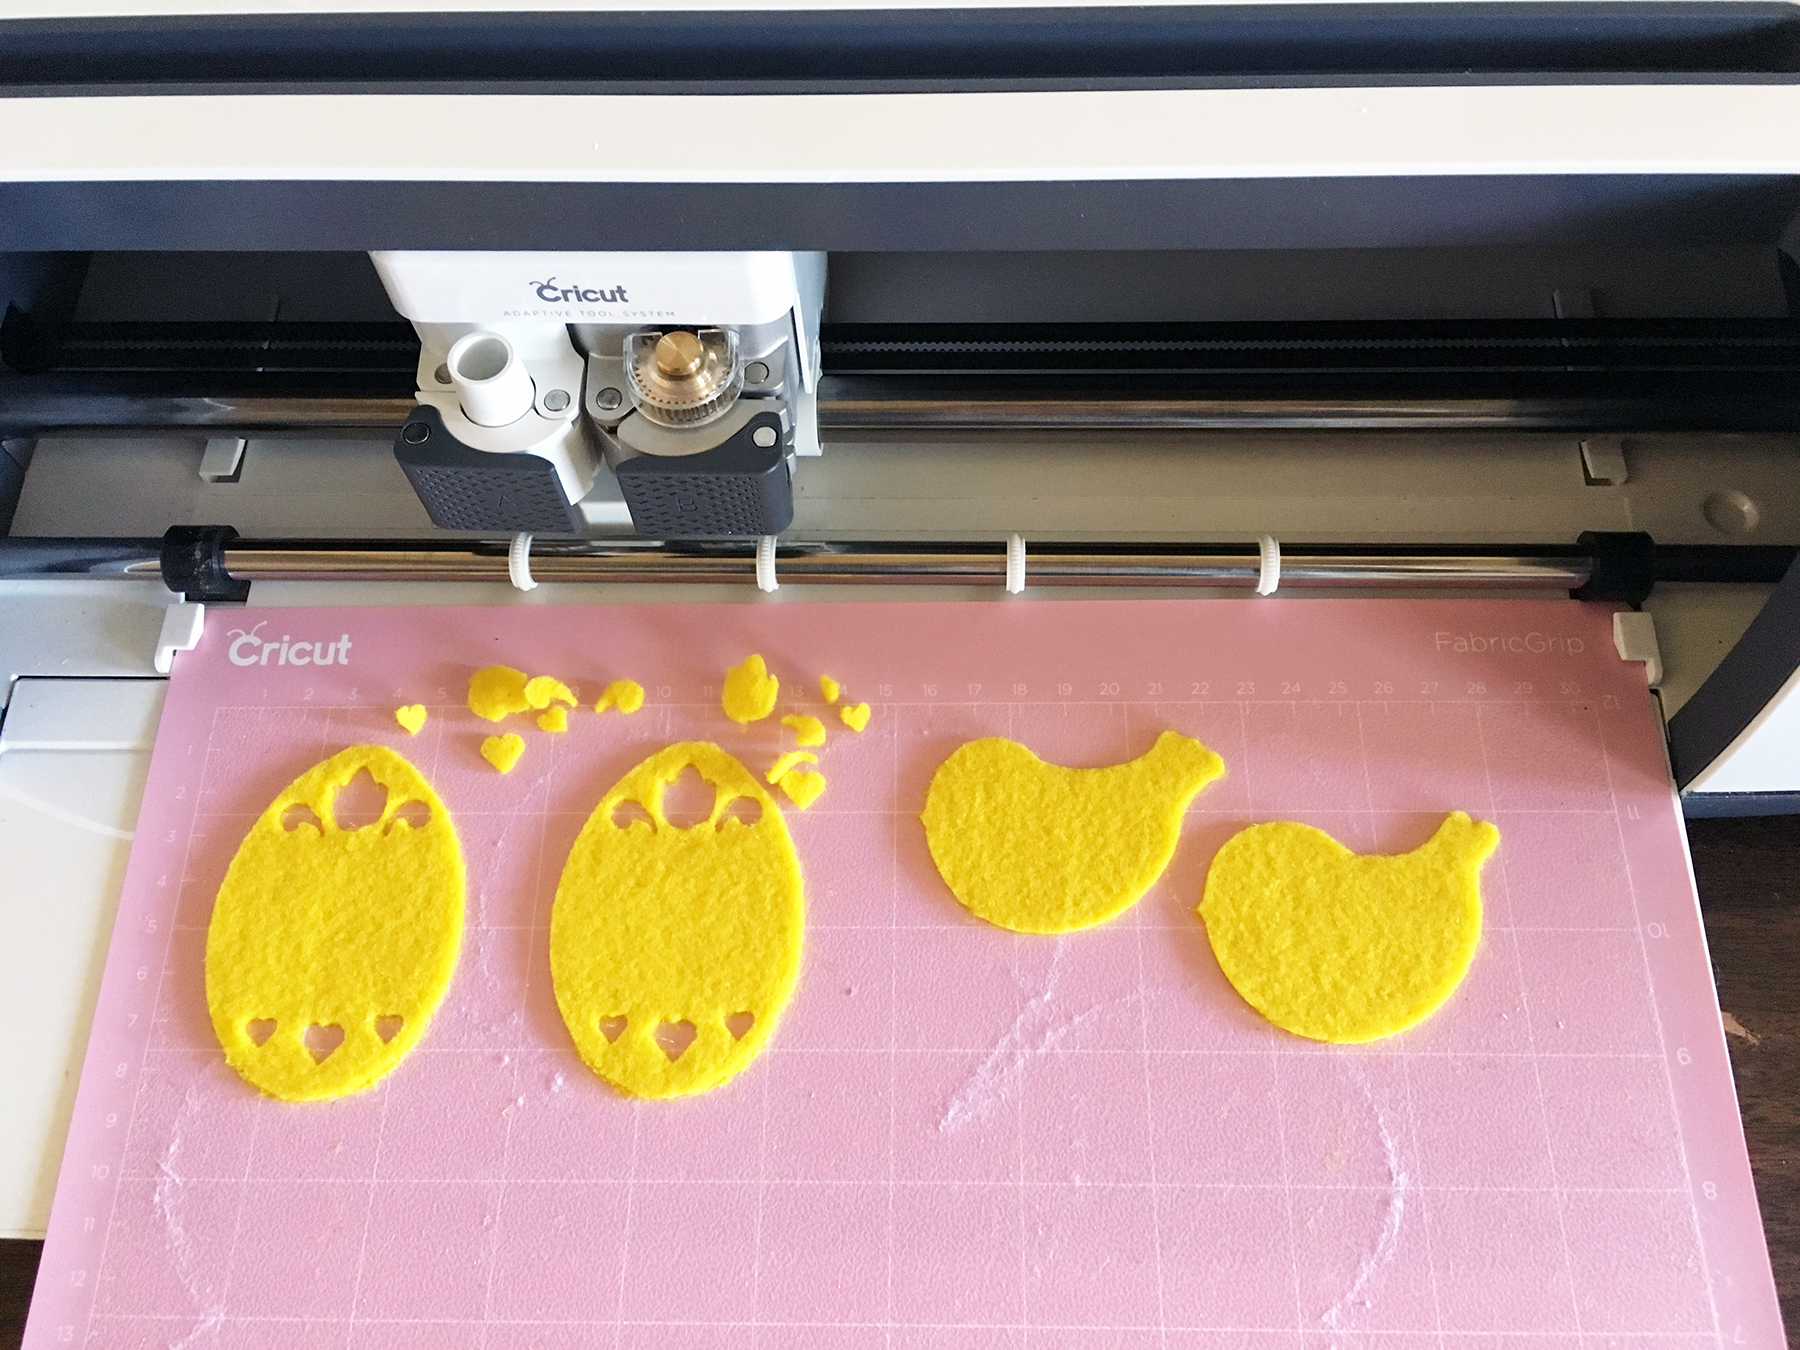
6. You will now have 6 white felt shapes, 2 each of each color of the white dot coordinates and 2 of each color of classic felt plus all the little pieces you weeded out.
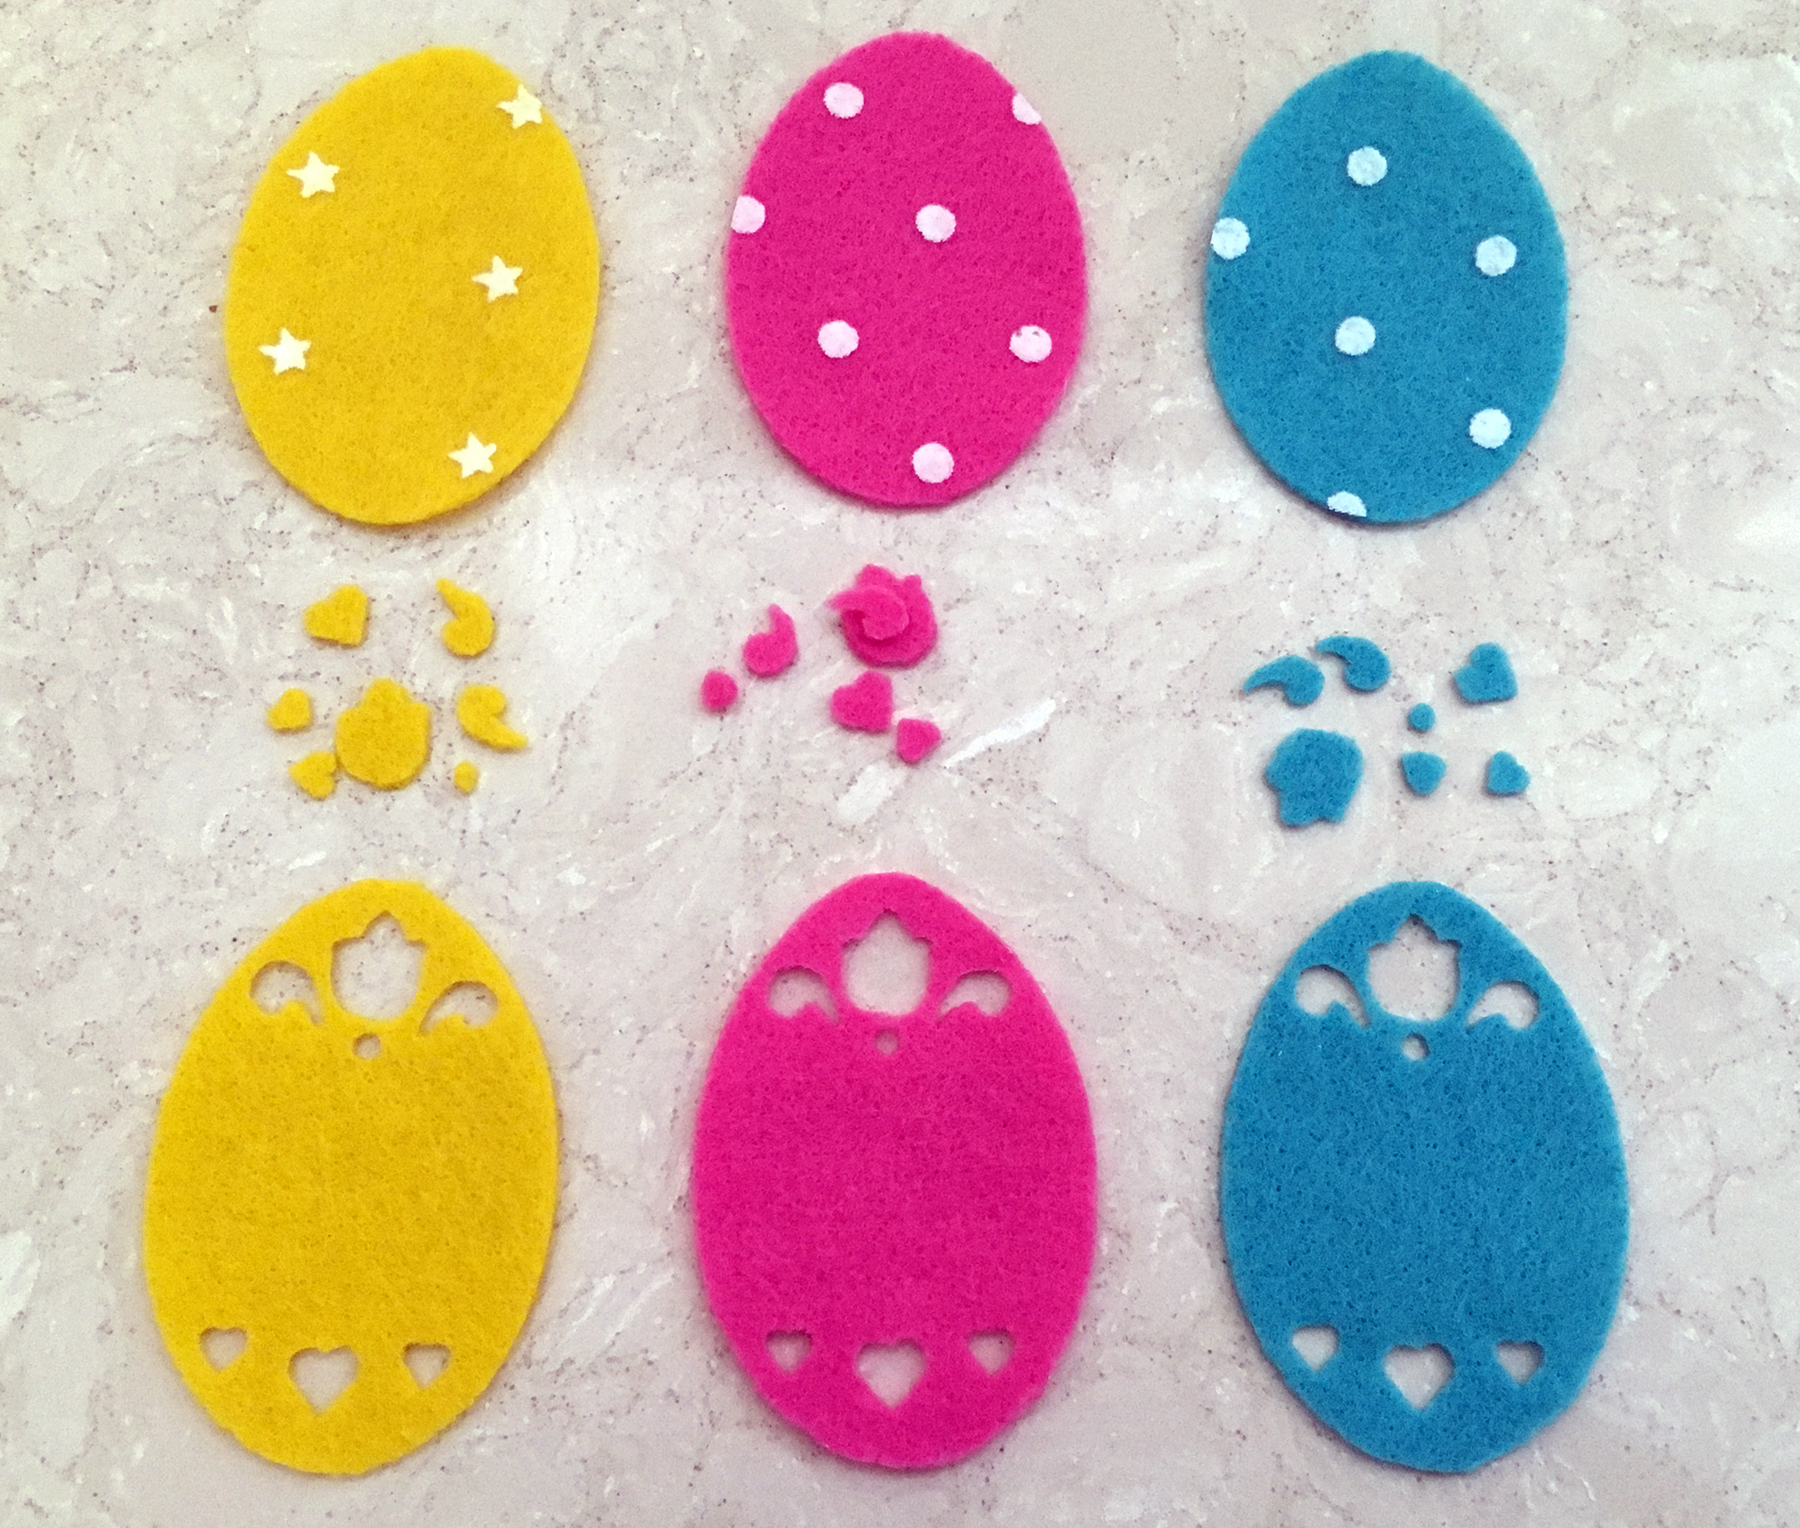
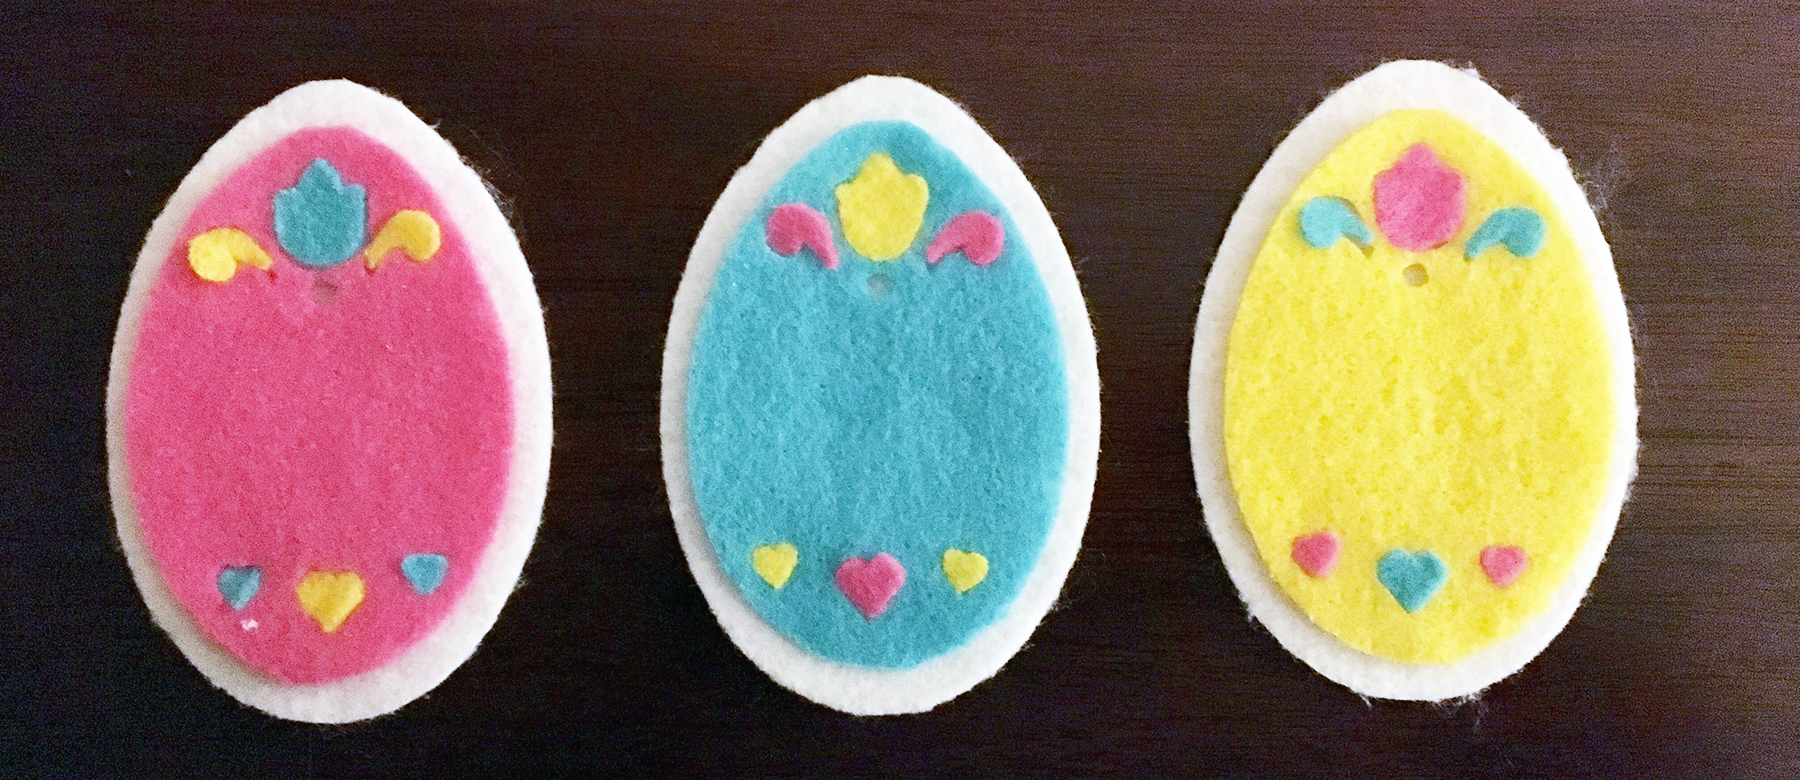
7. Working with one egg shape at a time on a firm surface, fill each opening with the tiny pieces you weeded from each egg. I used pink and blue shapes to fill the yellow egg, blue and yellow to fill the pink egg and pink and yellow for the blue egg. Press each piece firmly into the opening. If you misplace the teeny dot that’s under the tulip at the top of the egg, no worries, you can use a small jewel embellishment in that spot.
8. Use the craft stick to spread an even layer of glue on top of each white egg shape, position then press a colored egg shape in place. Let dry then glue a white dot coordinate shape on the other side.
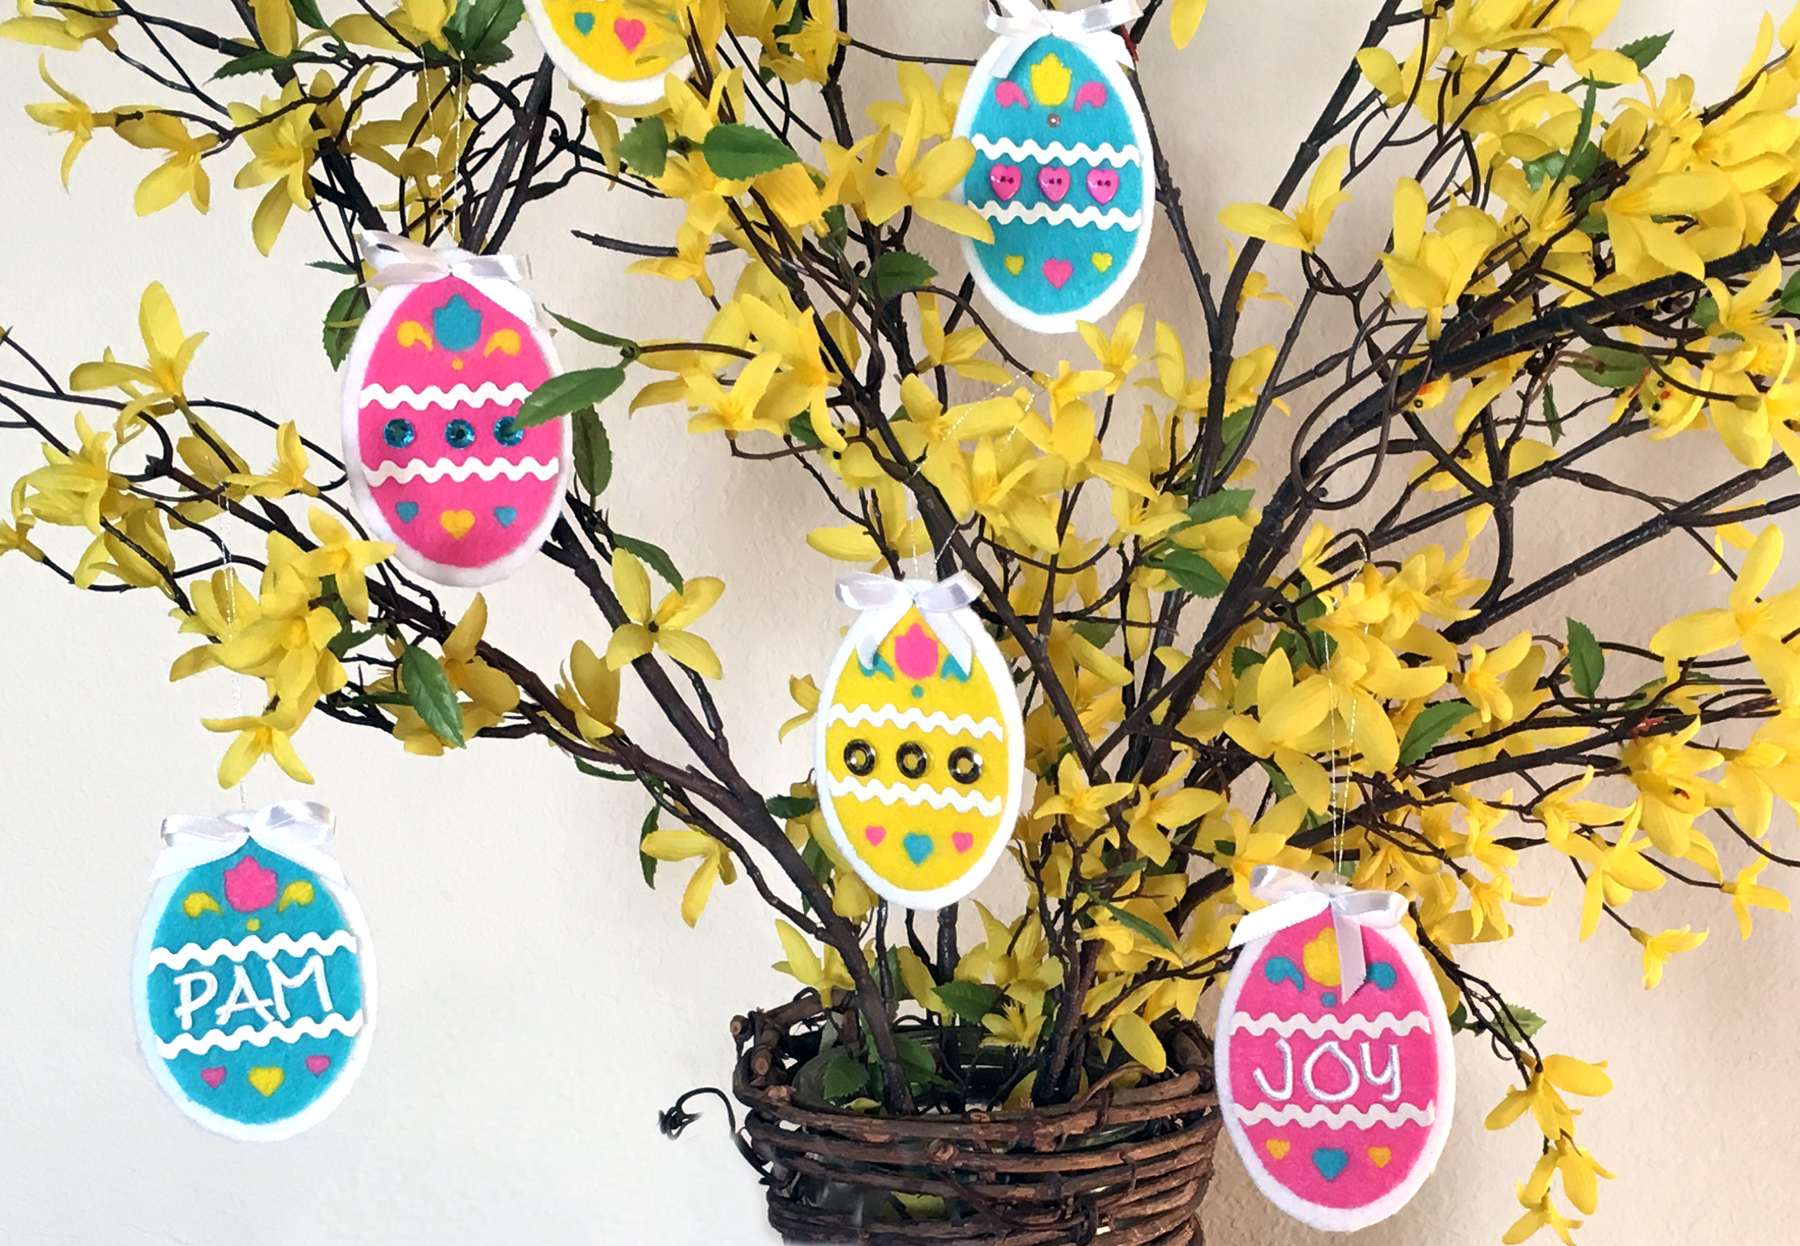
9. Decorate the center with your choice of embellishments then add a small bow and a loop of thread for a hanger at the top.

10. To make a simple bow, cut about 4” of ribbon. Cross the ends over as shown, pinch together at the center where they cross then wrap with thread.

11. Thread the ends of the thread onto a needle then sew the bow to the top of the egg with a simple up/down stitch. If you have longer pieces of thread, you can tie the two ends together to use for the hanger. Voilà, you’ve finished……!
With so many wonderful colors of felt to choose from, you’ll have a rainbow of felt eggs to decorate with in no time at all. Not just for branches, you can also use on Easter baskets, wreaths, banners and more! Enjoy!
You can now find an expanded color line of Kunin® Classicfelt; Kunin® Premiumfelt and Corduroy non-wovens fabrics in cut by the yard at your local Walmart; please inquire as to what is available in your area.