
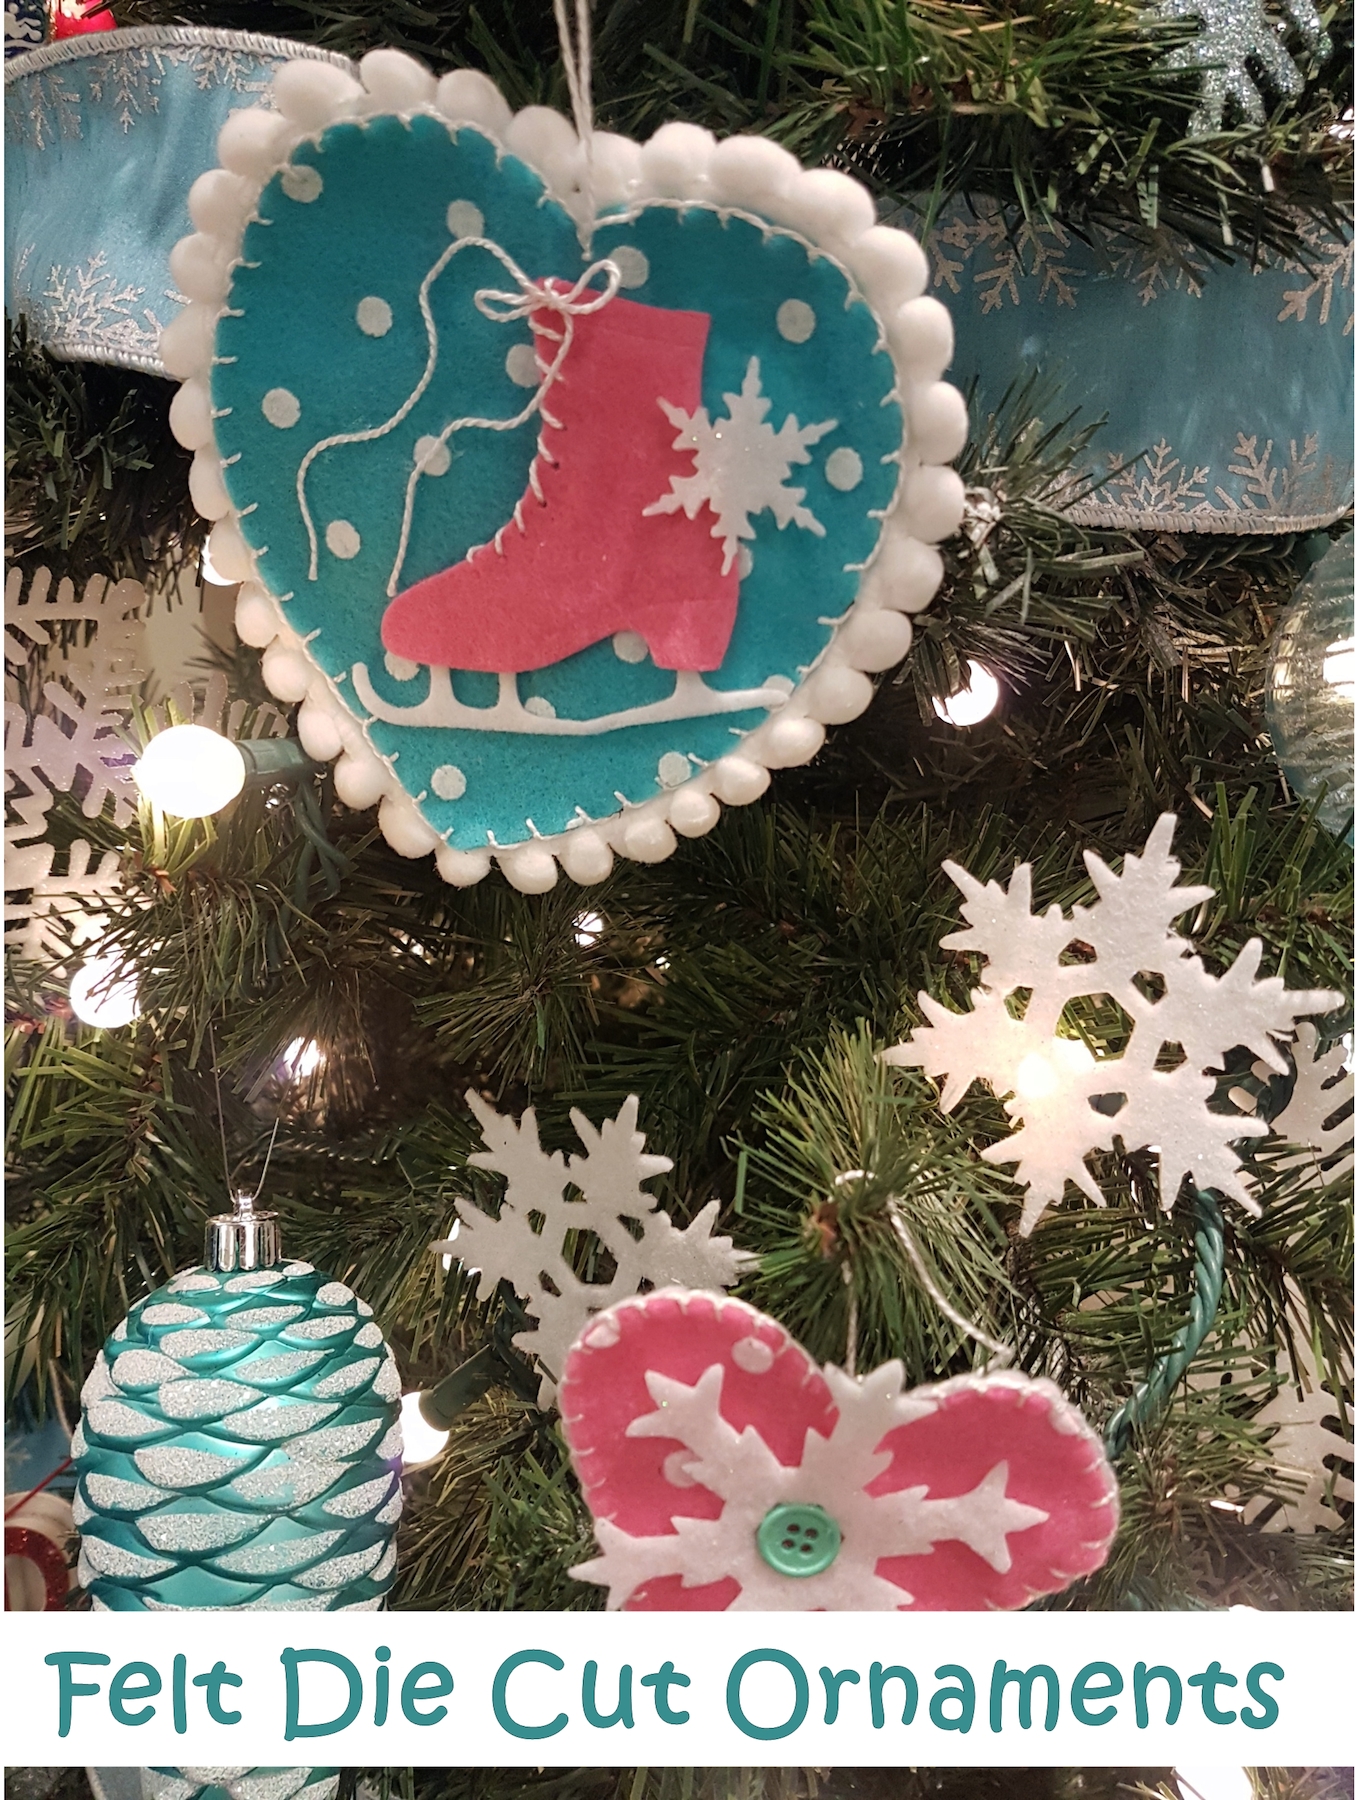
Welcome back to the Kunin Classroom! Today is all about die cuts, from intricate dies to simple shapes, felt does die cut easily. Let’s make some cute ornaments! Do you like to decorate in non-traditional colors for the Holidays? I do! In our family room I chose a teal and candy pink scheme for the tree. I love the new Coordinates especially the polka dots! Making some new ornaments was required and I chose to add a touch of whimsy with polka dot hearts and glitter snowflakes. My favorite trim is ball pom or pom pom trim, I just love those little soft balls hanging from the braid and the baby pom pom trim is perfect for small projects. This baby pom trim looks like mini snowballs!
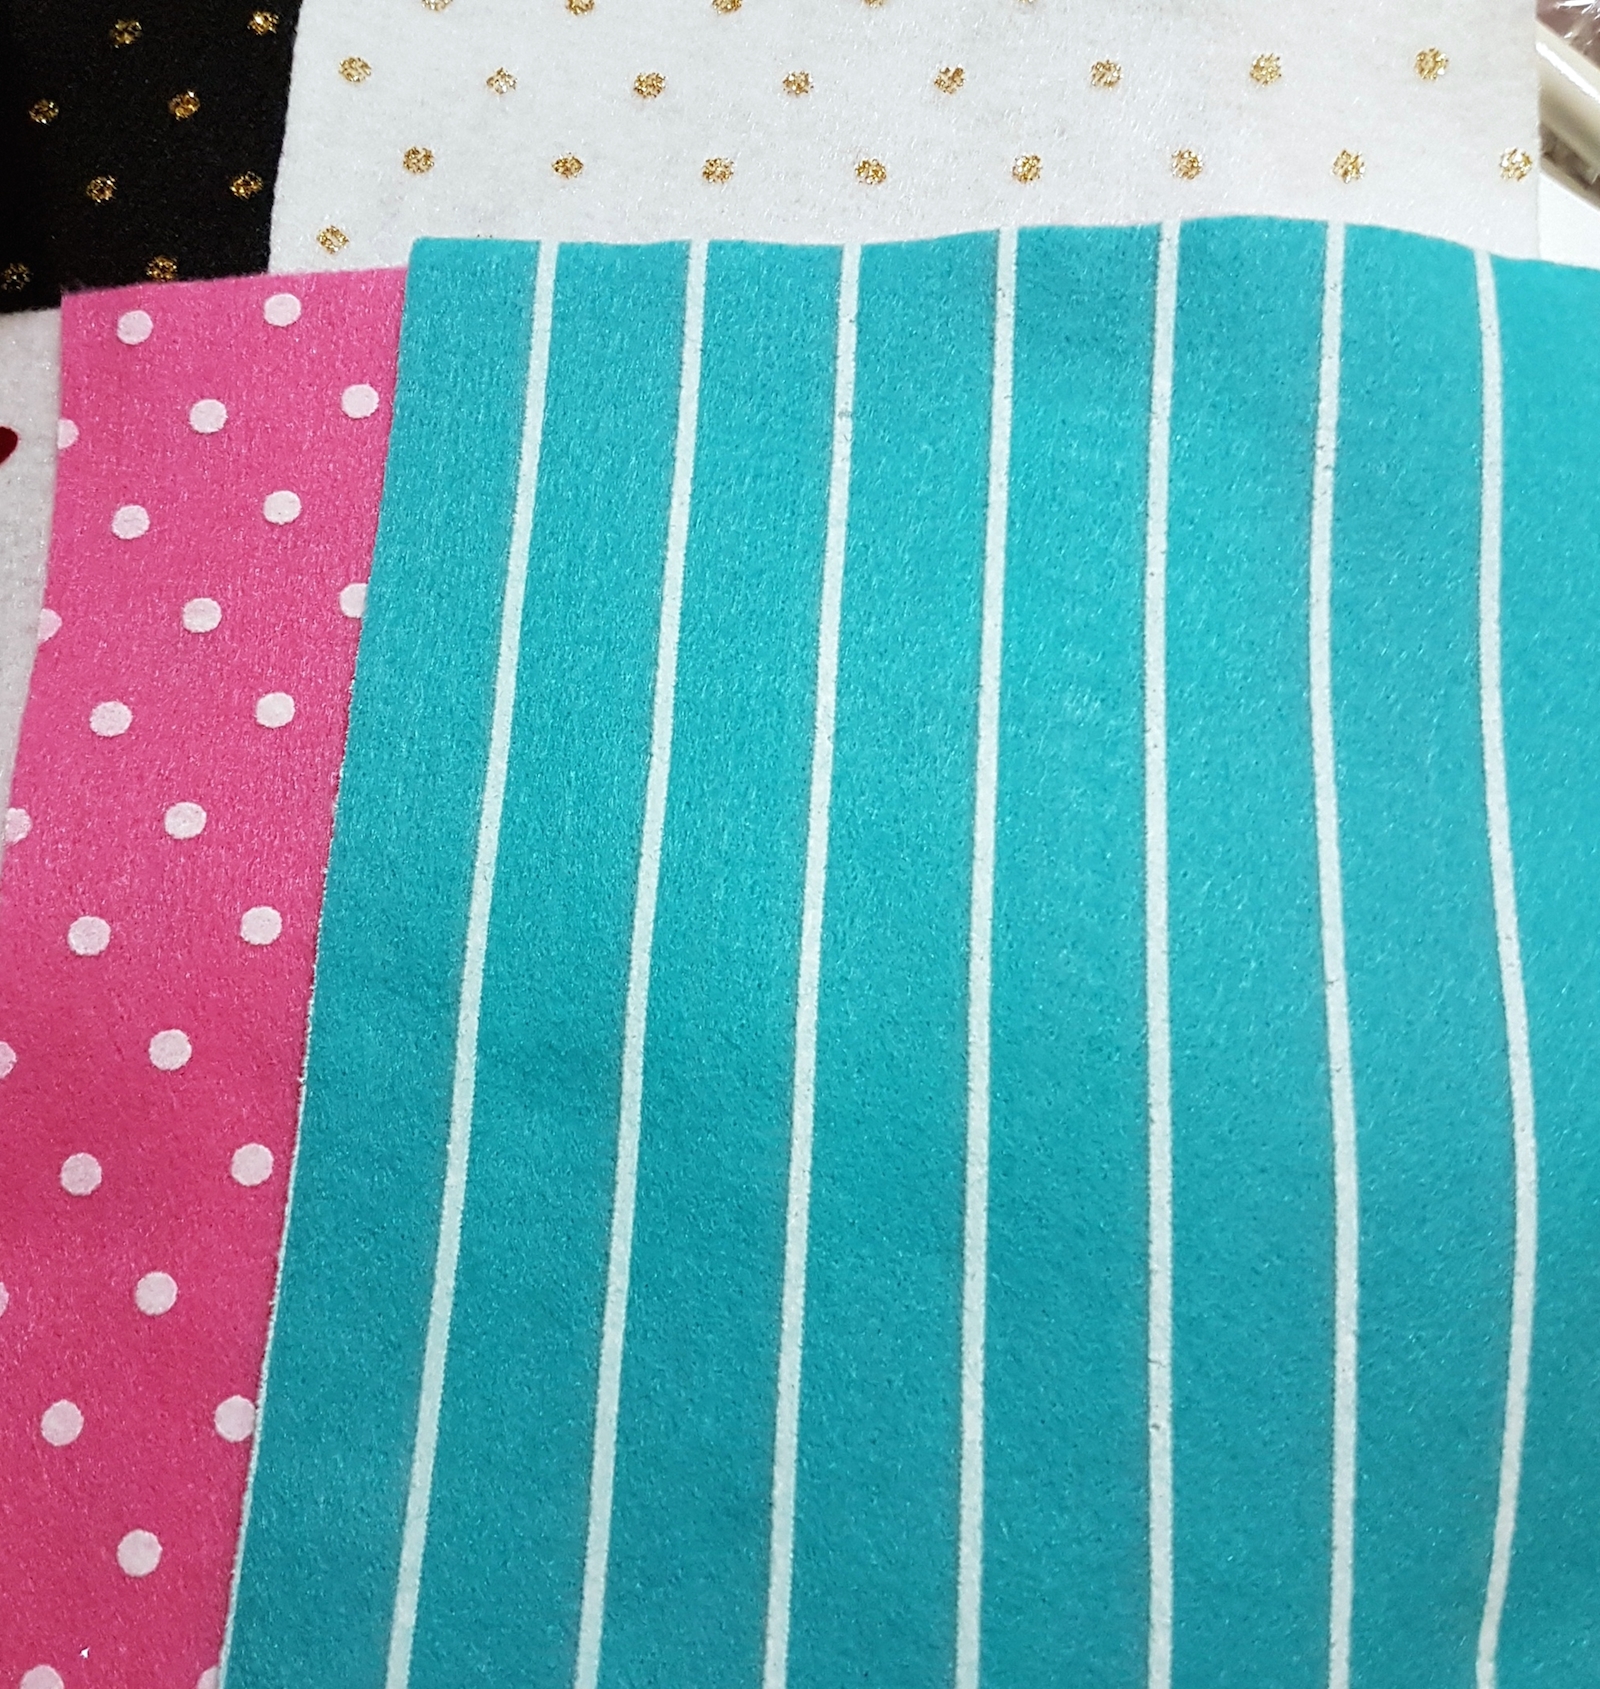
First you have to choose what color you want to use and now look at these patterns. The stripes and polka dots are so fun! When you are making a few ornaments, being able to die cut the pieces is such a time saver. I used three different dies, snowflakes from Sizzix/Ellison designed by Tim Holtz and Laura Kelly’s heart die. The third die is from Elizabeth Craft Designs, a thin lit style die with tiny pieces, the adorable miniature skate.
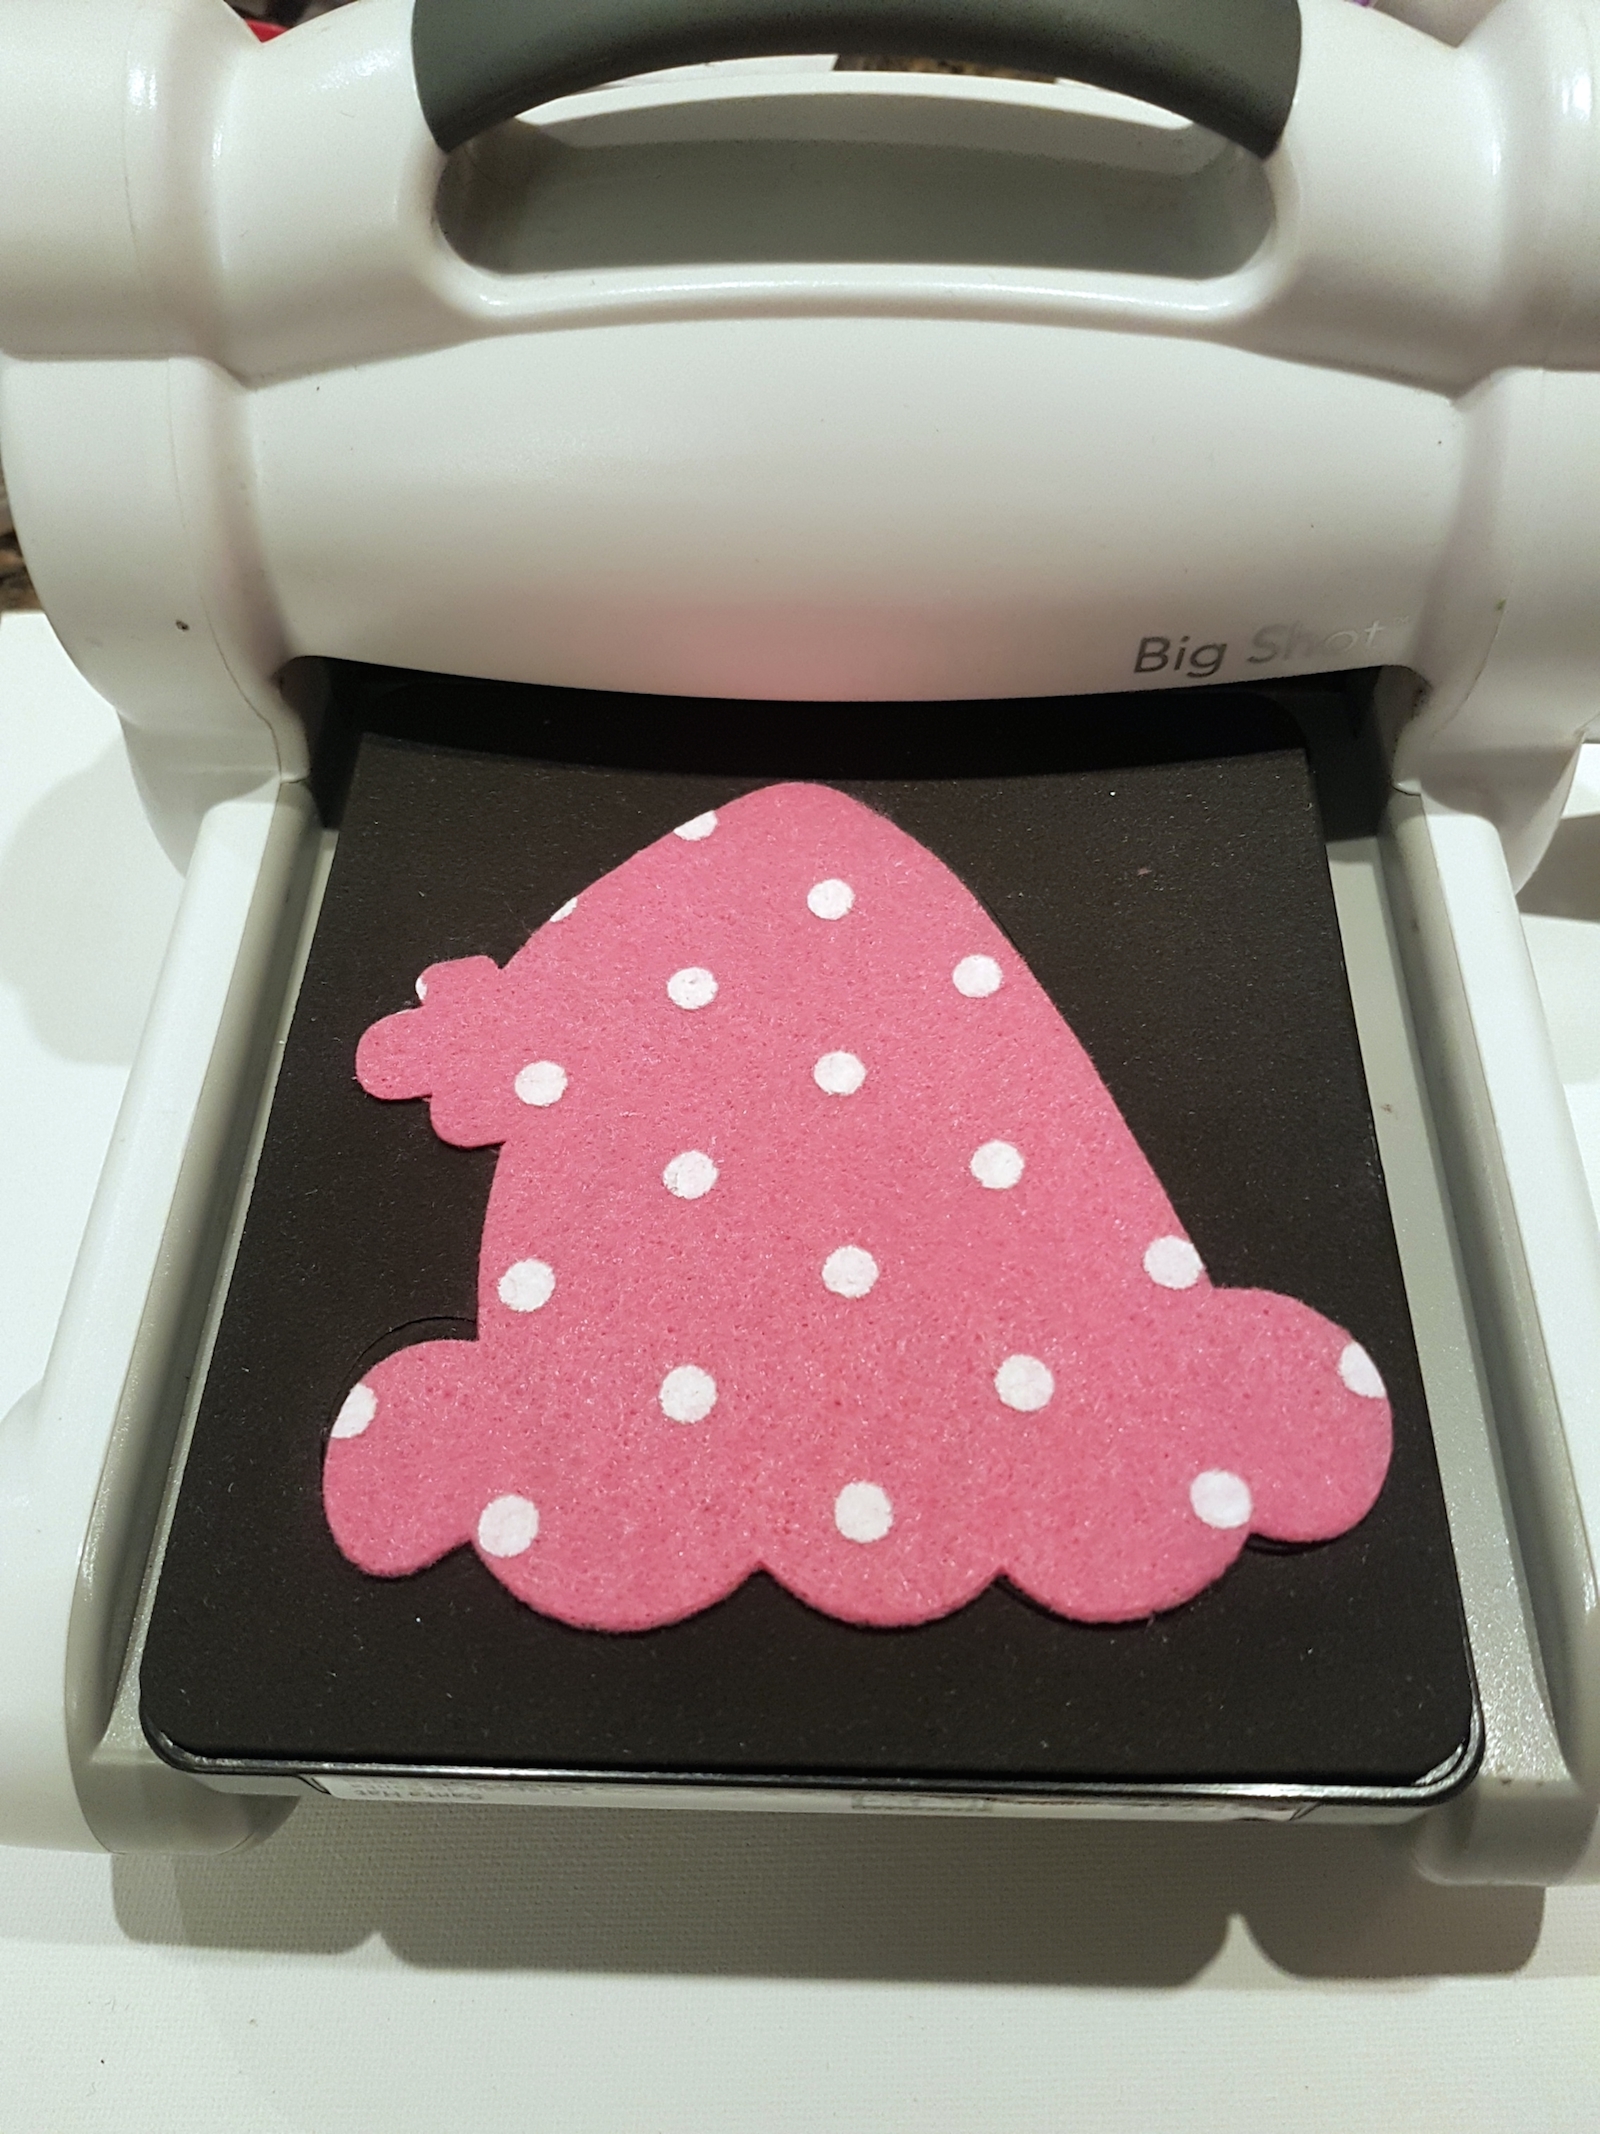
Felt die cuts very easily. For the larger dies just run your die and felt sandwich through the machine once and then rewind once for a clean cut. For the thin more intricate dies I placed a thin double adhesive sheet backing the felt first. Use a magnetic plate and run through the die cut machine once and rewind.
TIP: Some fibers may stick down inside the cutting blades of the dies. Just use tweezers and carefully pick out after a few uses.
You will need:
- 1/2 yard Lorlana Baby Pom pom fringe trim from Expo International Inc.
- 9” x 12” craft cuts of Kunin Felt Coordinates: 1 White Dot Lagoon
- 9” x 12” craft cut of Kunin Glitterfelt: 1 White
- 9” x 12” craft cuts of Kunin ClassicFelt: 1 Candy Pink
- Heart Die from Sizzix/Ellison by Laura Kelly
- Snowflake Die from Sizzix/Ellison by Tim Holtz
- Skate Die from Elizabeth Craft Designs
- Double sided adhesive sheets
- Fabri-tac adhesive
- White embroidery floss
- Scissors, embroidery needle, Big Shot
1. Die cut two hearts for each ornament. TIP: Be sure to reverse the felt with pattern facing right side up and then down to have the pattern on both front and back. Die cut snowflakes from Glitterfelt. Apply adhesive sheet and die cut skate from Candy Pink and blade from White.
2. Place heart pieces together and blanket stitch around all sides. (If you do not want to stitch just glue pieces together.)
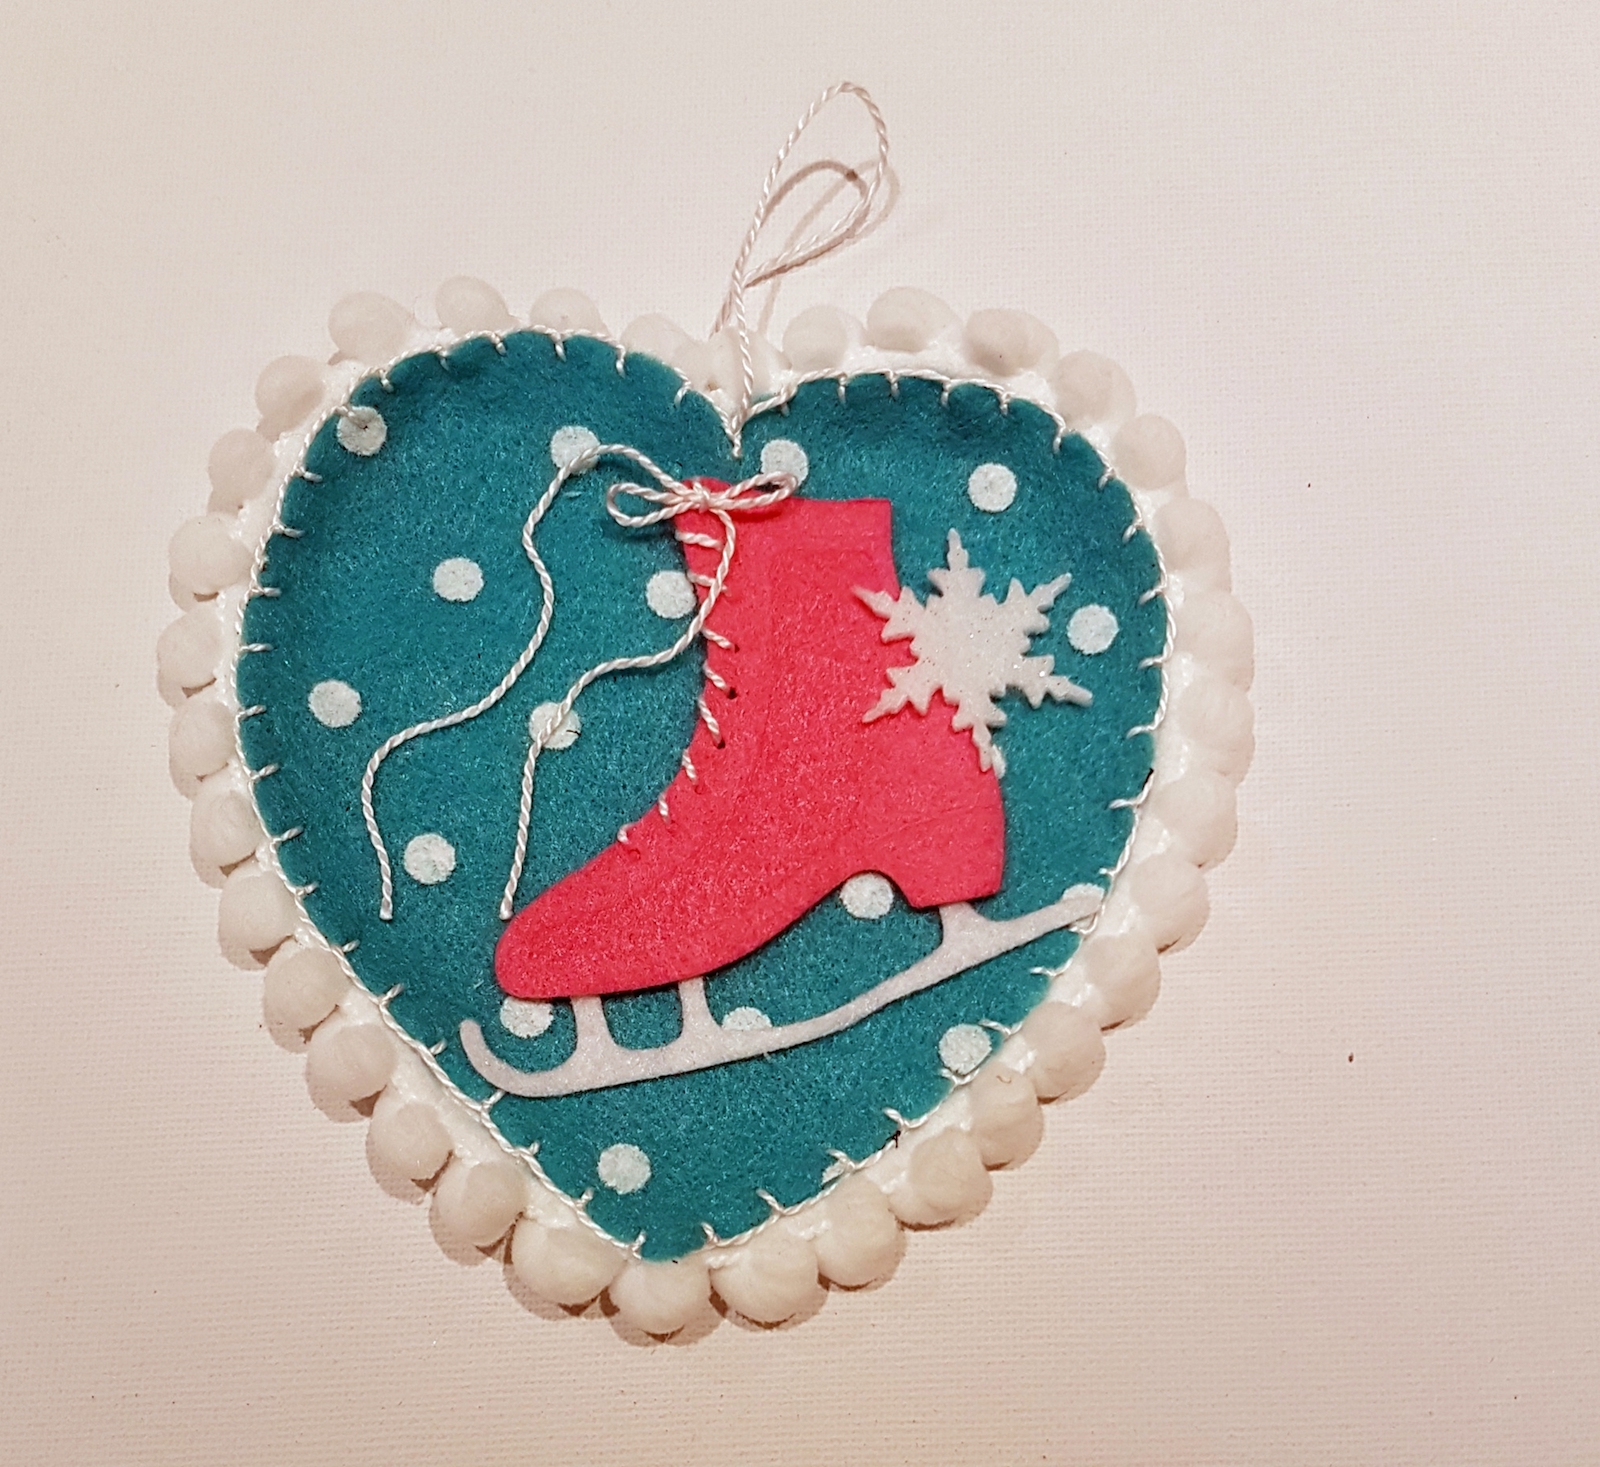
3. Glue pom pom trim around back edge of heart.
4. Make a loop of floss for hanger. Glue to top of heart.
5. Stitch floss through lace holes on skate. Peel off adhesive and adhere to front of heart. Add snowflake.
6. Make smaller hearts and add snowflakes. Larger snowflakes can just be used as ornaments themselves. Just insert on branches.
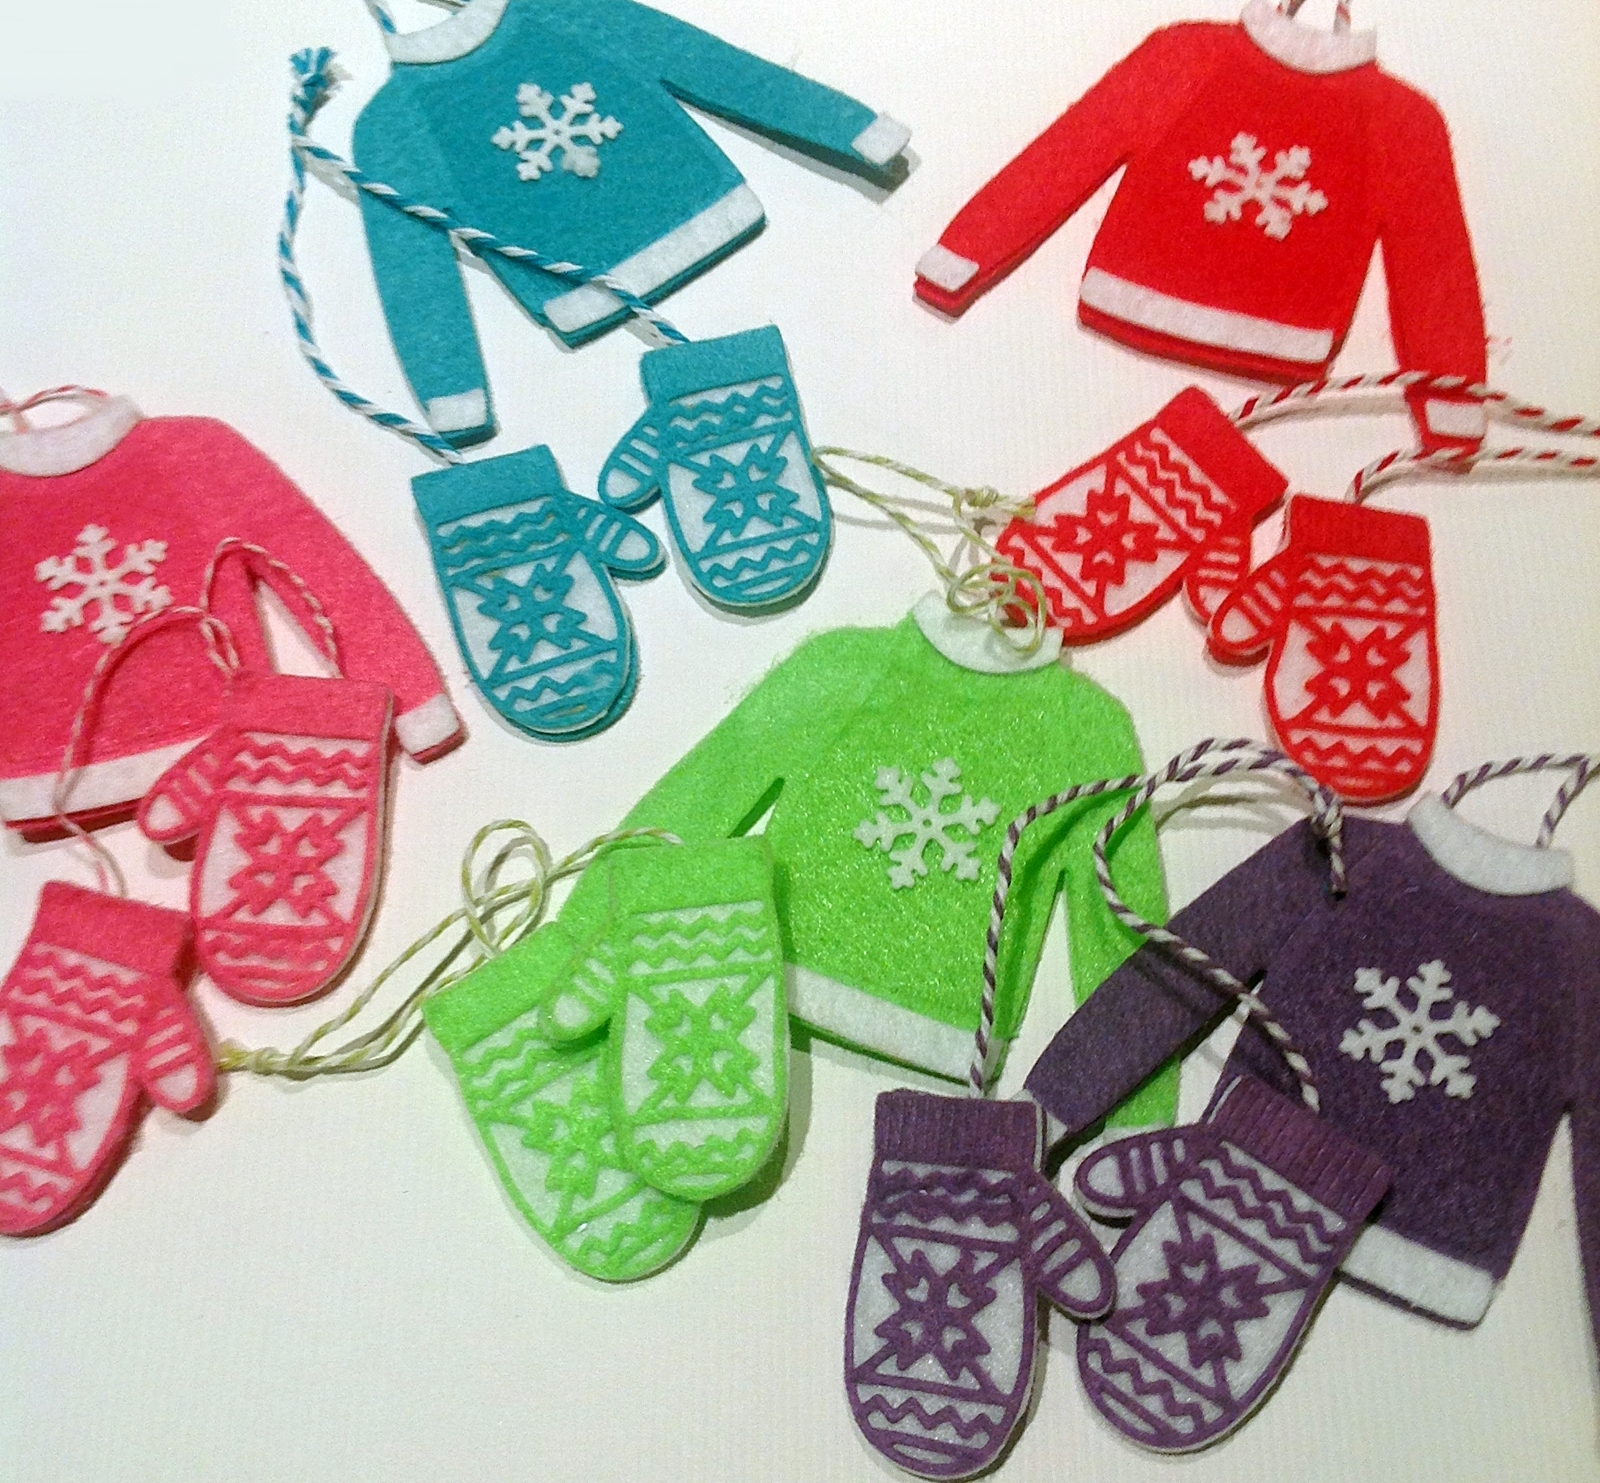
These sweater and mitten dies are too adorable and another intricate die from Elizabeth Craft Designs. Just make sure to use an adhesive on the back when die cutting the pieces out.
I also love these felt ornaments because they pack up small and are sturdy especially when there are many little hands around! Grandmother of eleven, I speak from experience!
You can now find an expanded color line of Kunin® Classicfelt; Kunin® Premiumfelt and Corduroy non-wovens fabrics in cut by the yard at your local Walmart; please inquire as to what is available in your area.
Till next Tuesday in the Kunin Classroom! #createwithkunin
Debra