
Laura Bray
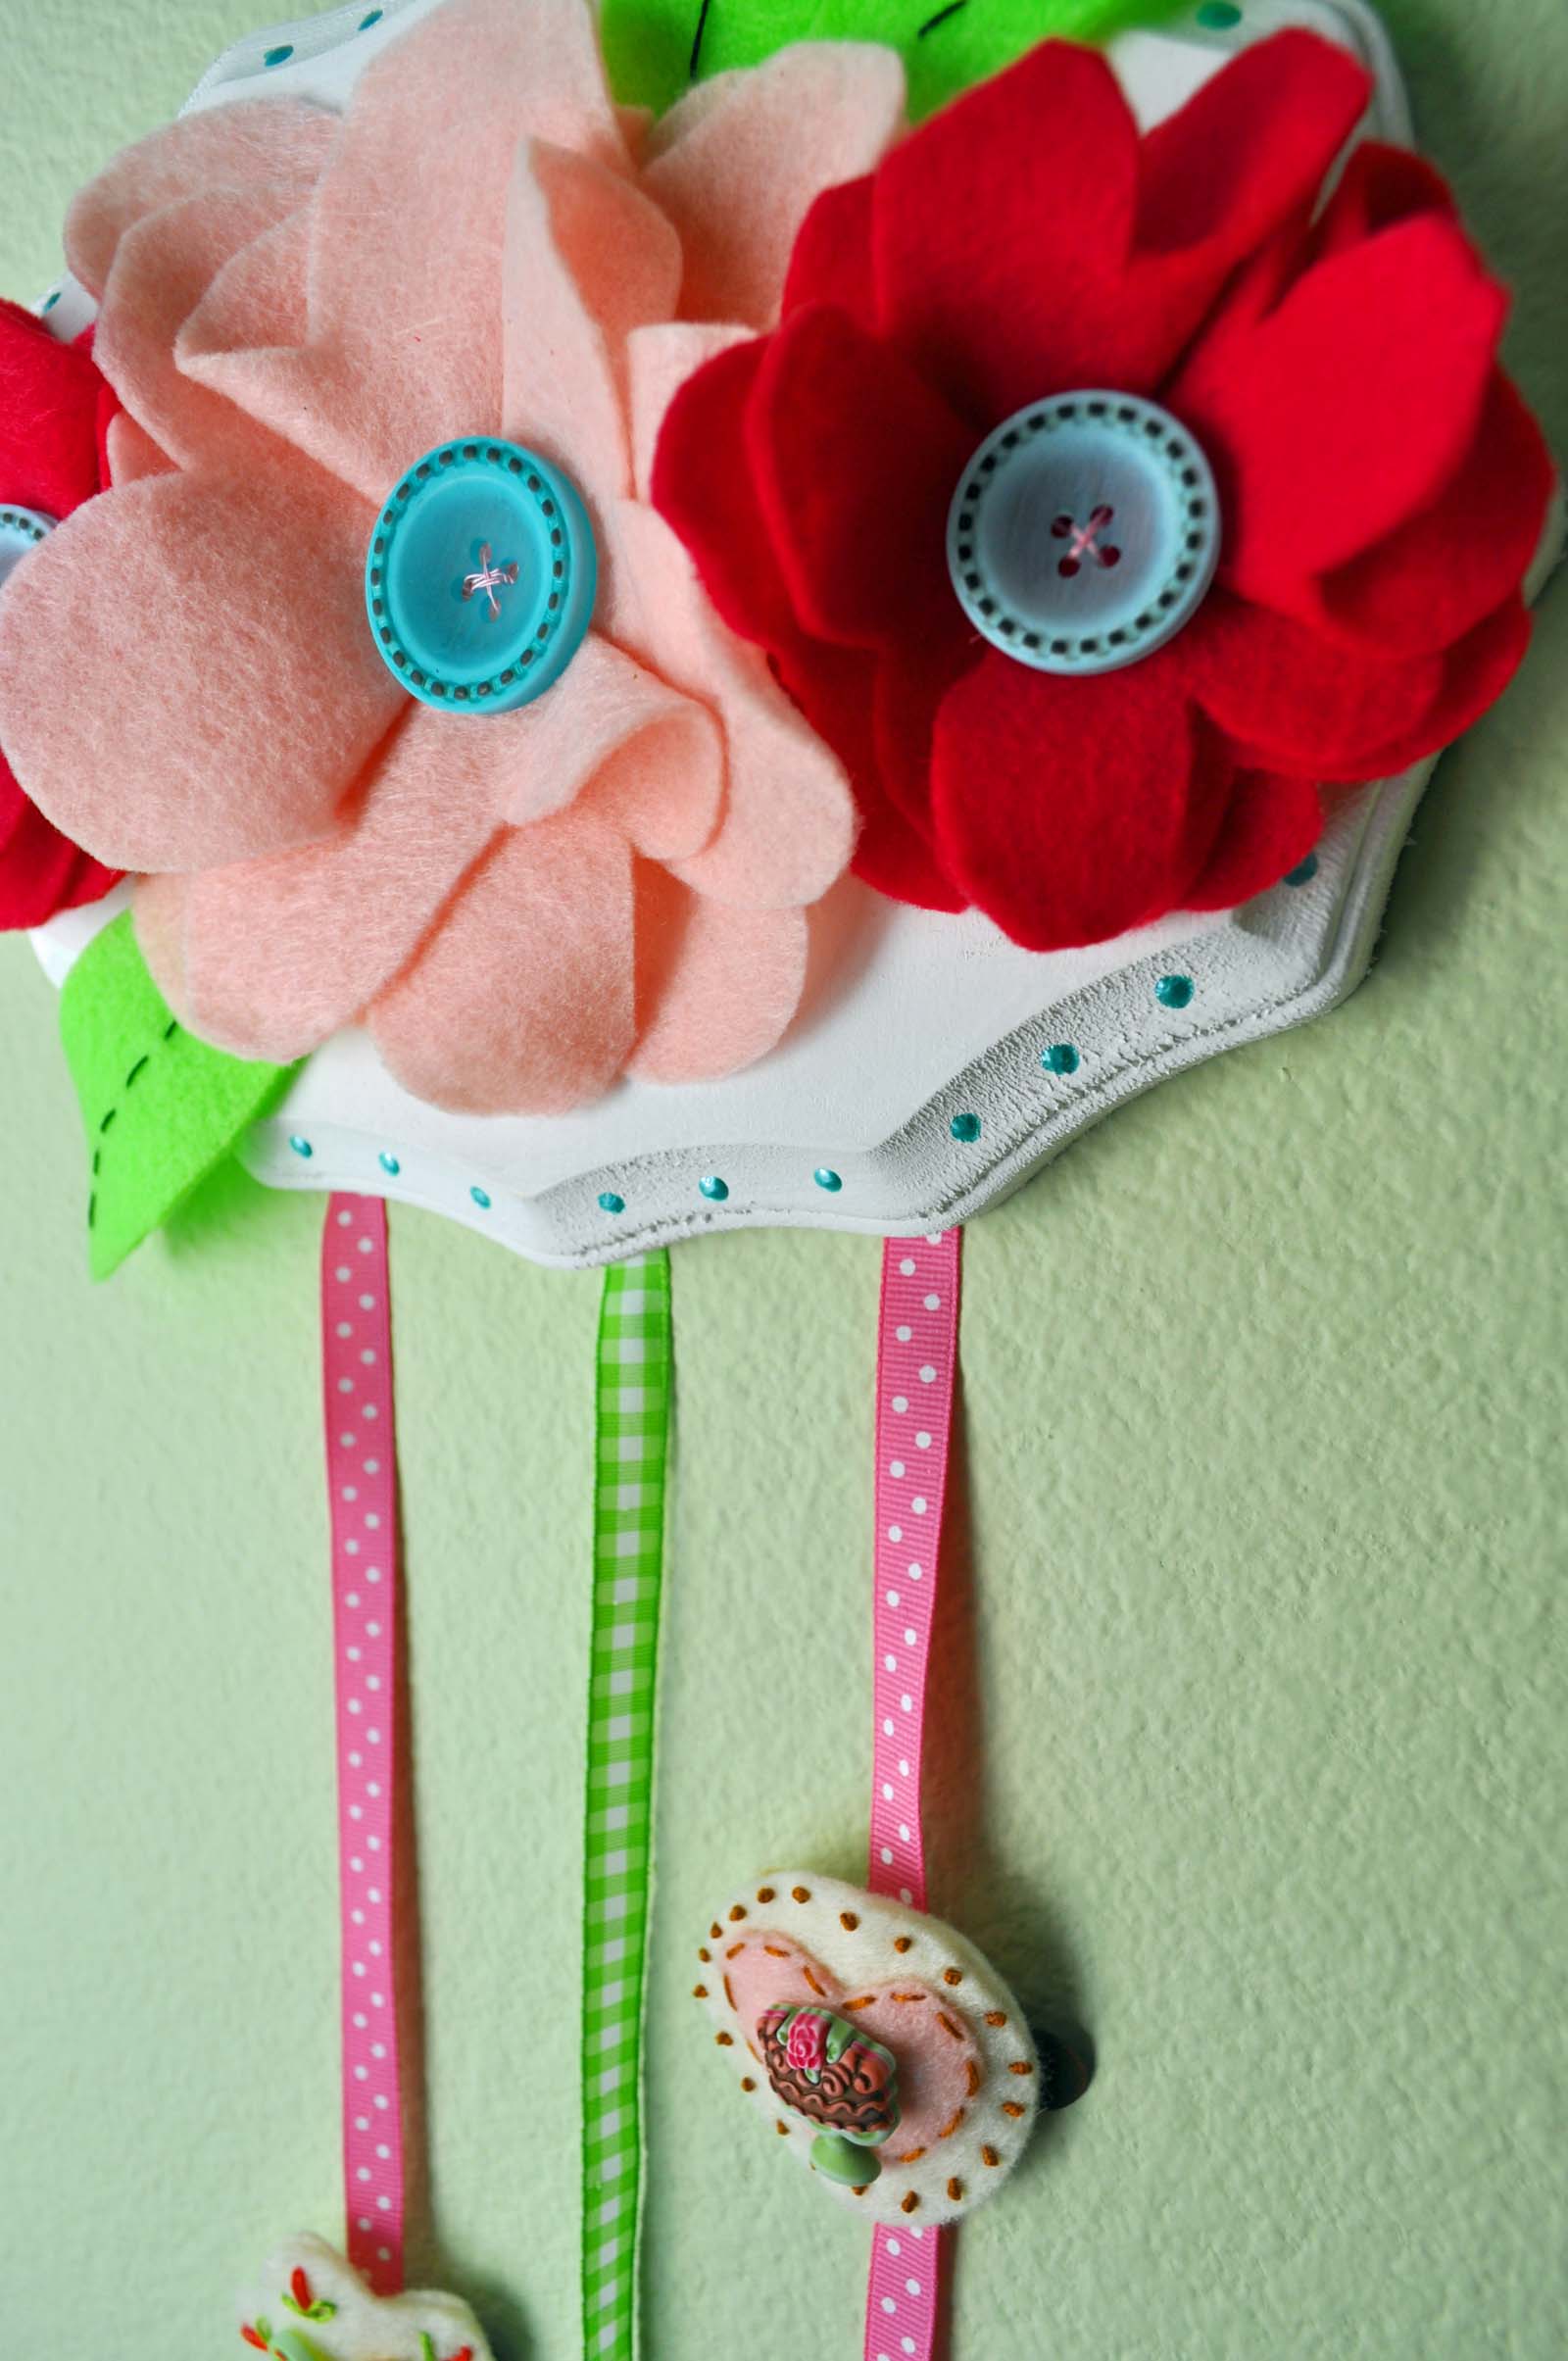
The organization of my daughter’s hair clip collection has always been a constant battle at our house. I’m pretty sure hair clips multiply by themselves when I’m not looking. I created a plaque to display her hair clips (because most of them are pretty darn cute) and organize them at the same time. My hair clip organizer is designed to hang on a wall, so it doesn’t even take up precious counter space! Any little girl would love getting this for a gift-maybe with a few hair clips attached? Moms will be pretty happy when this gift comes into the house too!
Materials:
- Wood plaque
- Paint
- Felt
- Ribbon-3 pieces, cut to 15 inches
- Buttons-Buttons Galore, Granny’s Button Box, Stitched Buttons
- Stapler
- Hanging supplies. Either a picture hanging kit or adhesive wall strips.
Instructions:
- Sand and paint the wood plaque. Allow to dry completely.
- While the plaque is drying, start making felt flowers. I showed you last month how to make felt flowers.
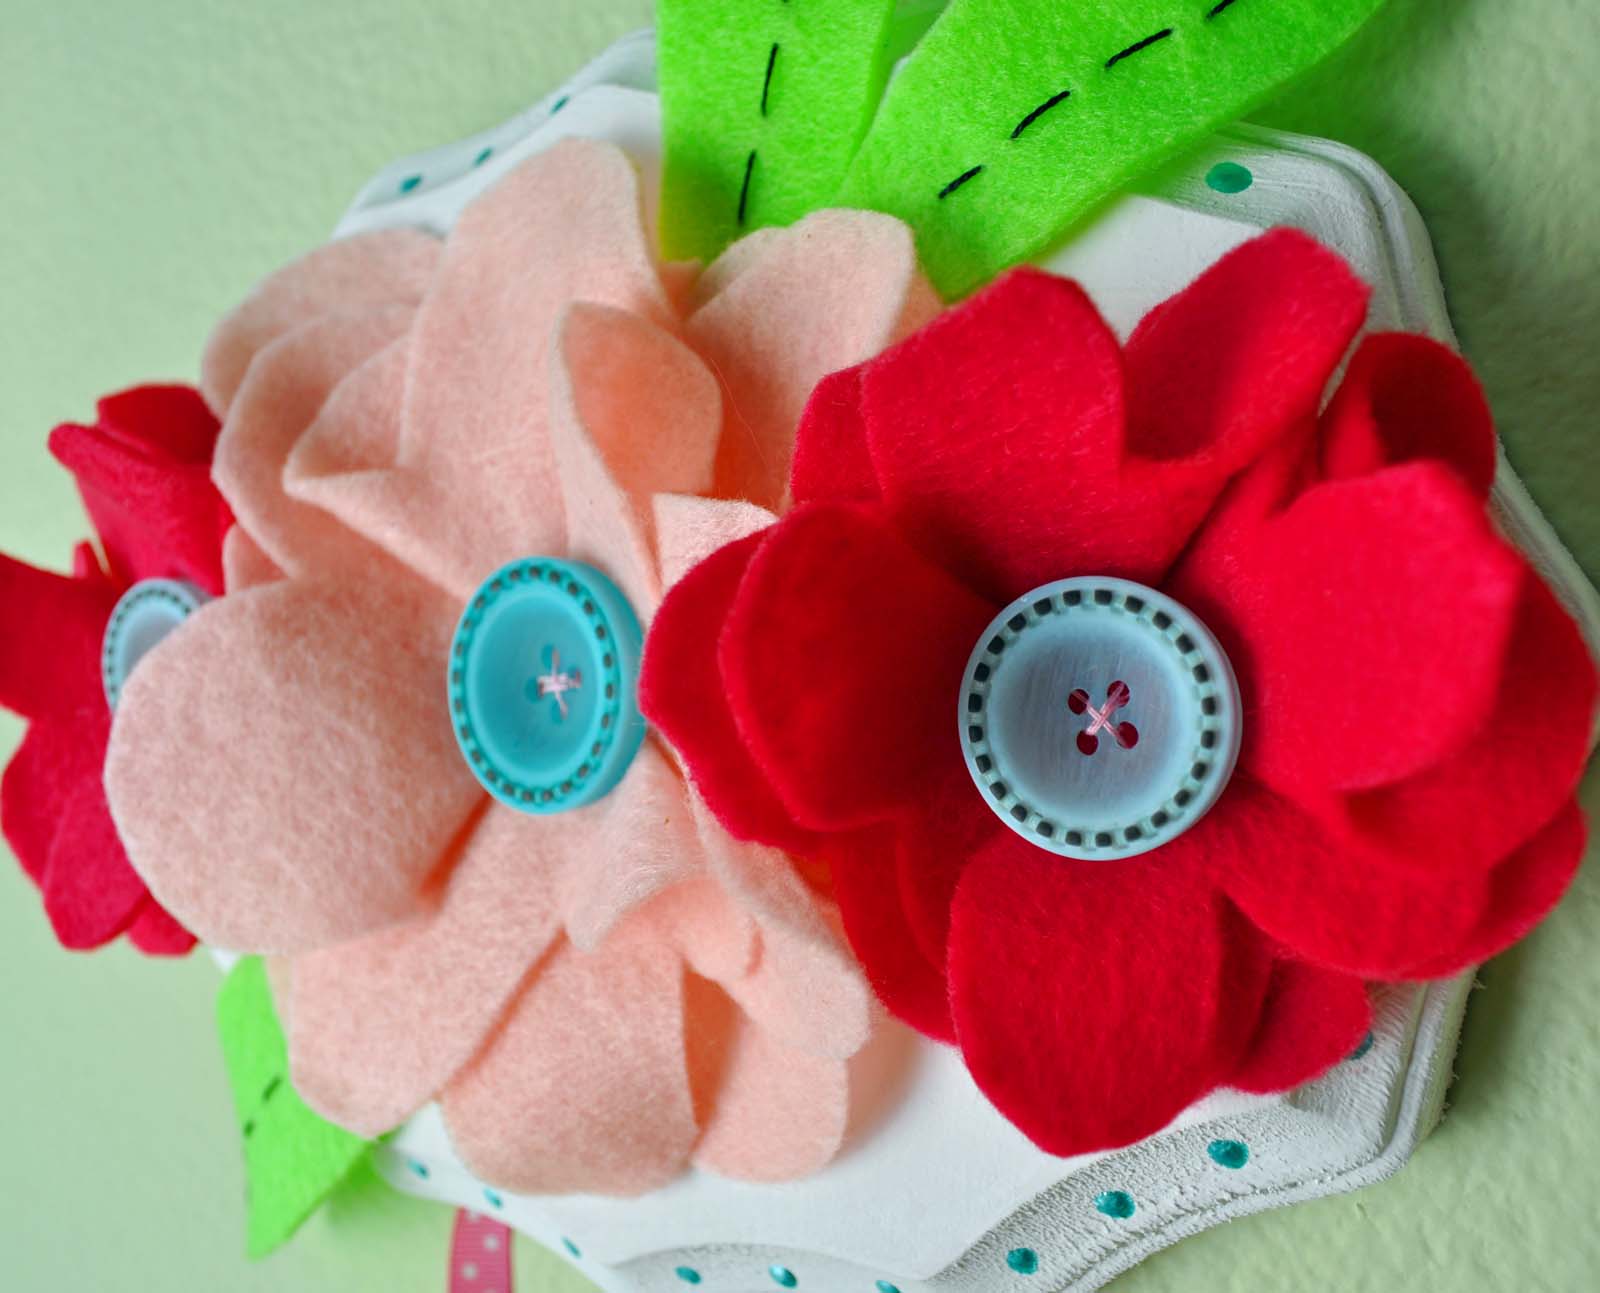
- Once your flowers are complete, sew buttons into the middle of them.
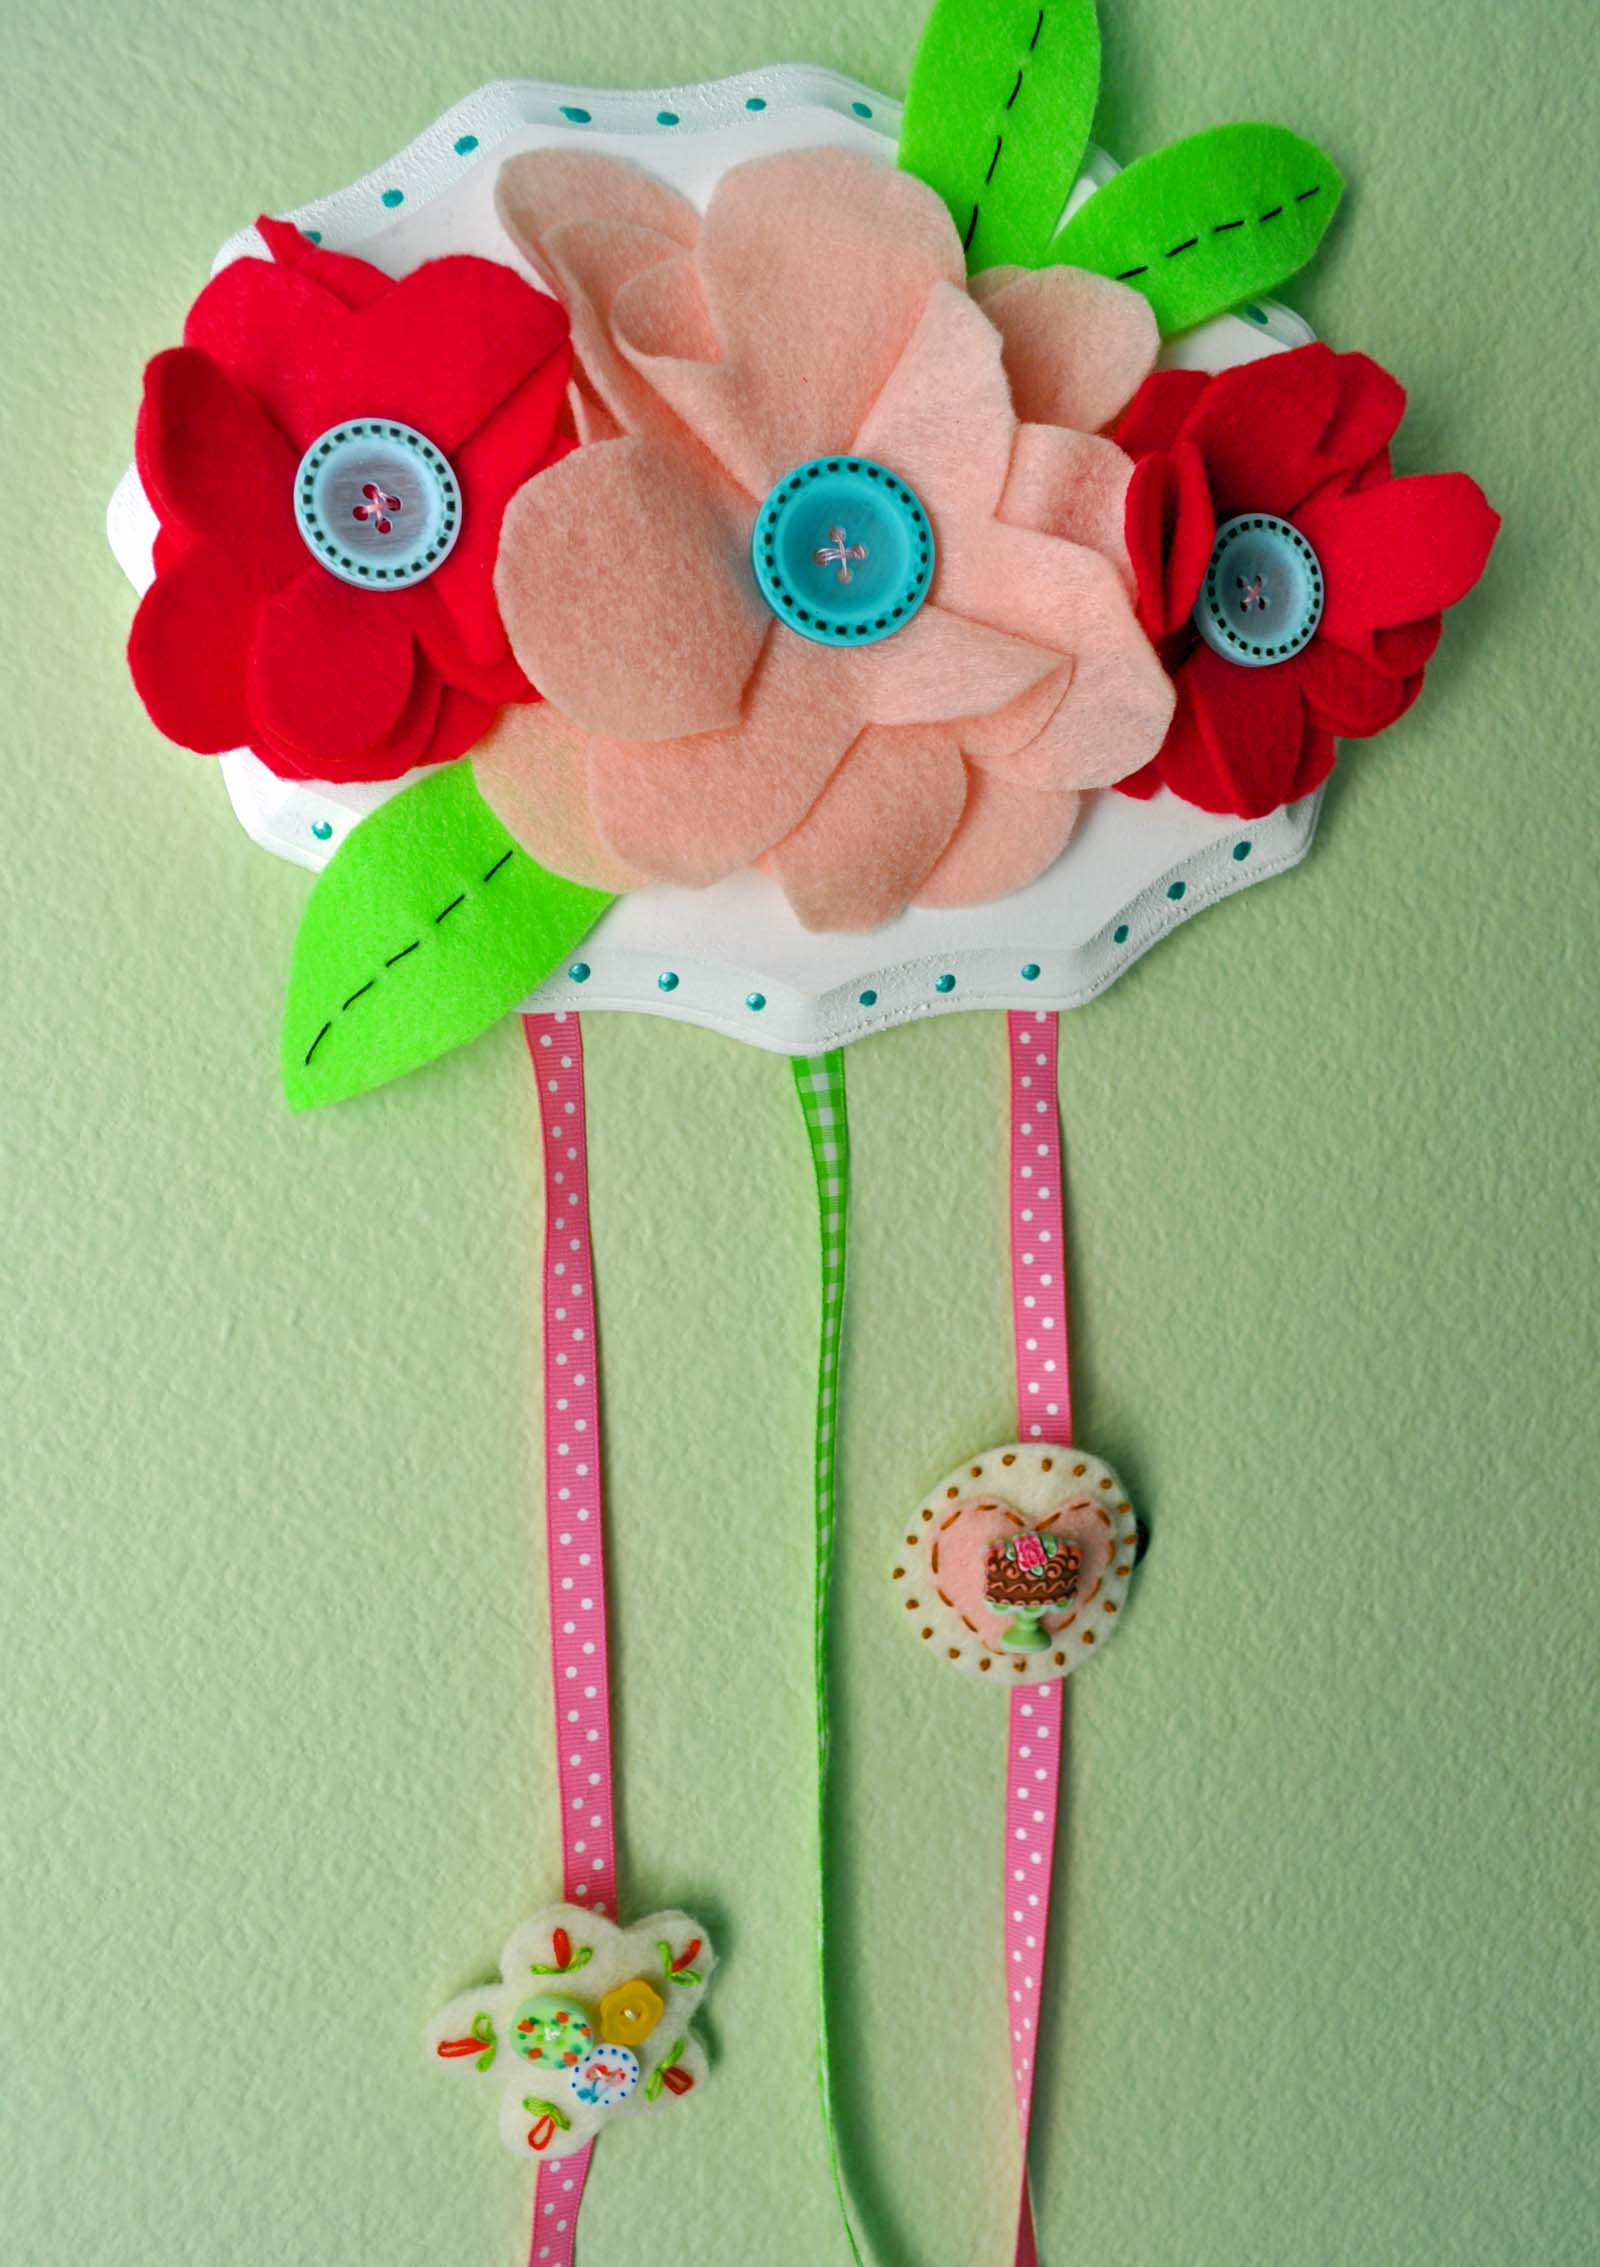
- Glue the felt flowers onto the painted, wood plaque.
- If you want to, you can also add leaves-just cut out some ovals from green felt and tuck them in.
- Turn the plaque over. Staple the ends of the ribbons to the bottom edge of the plaque. Make sure the ribbon design faces forward if applicable.
- Hang on the wall and add all those pretty hair clips!
That is beautiful!! Simple, but amazing!! I love it!