
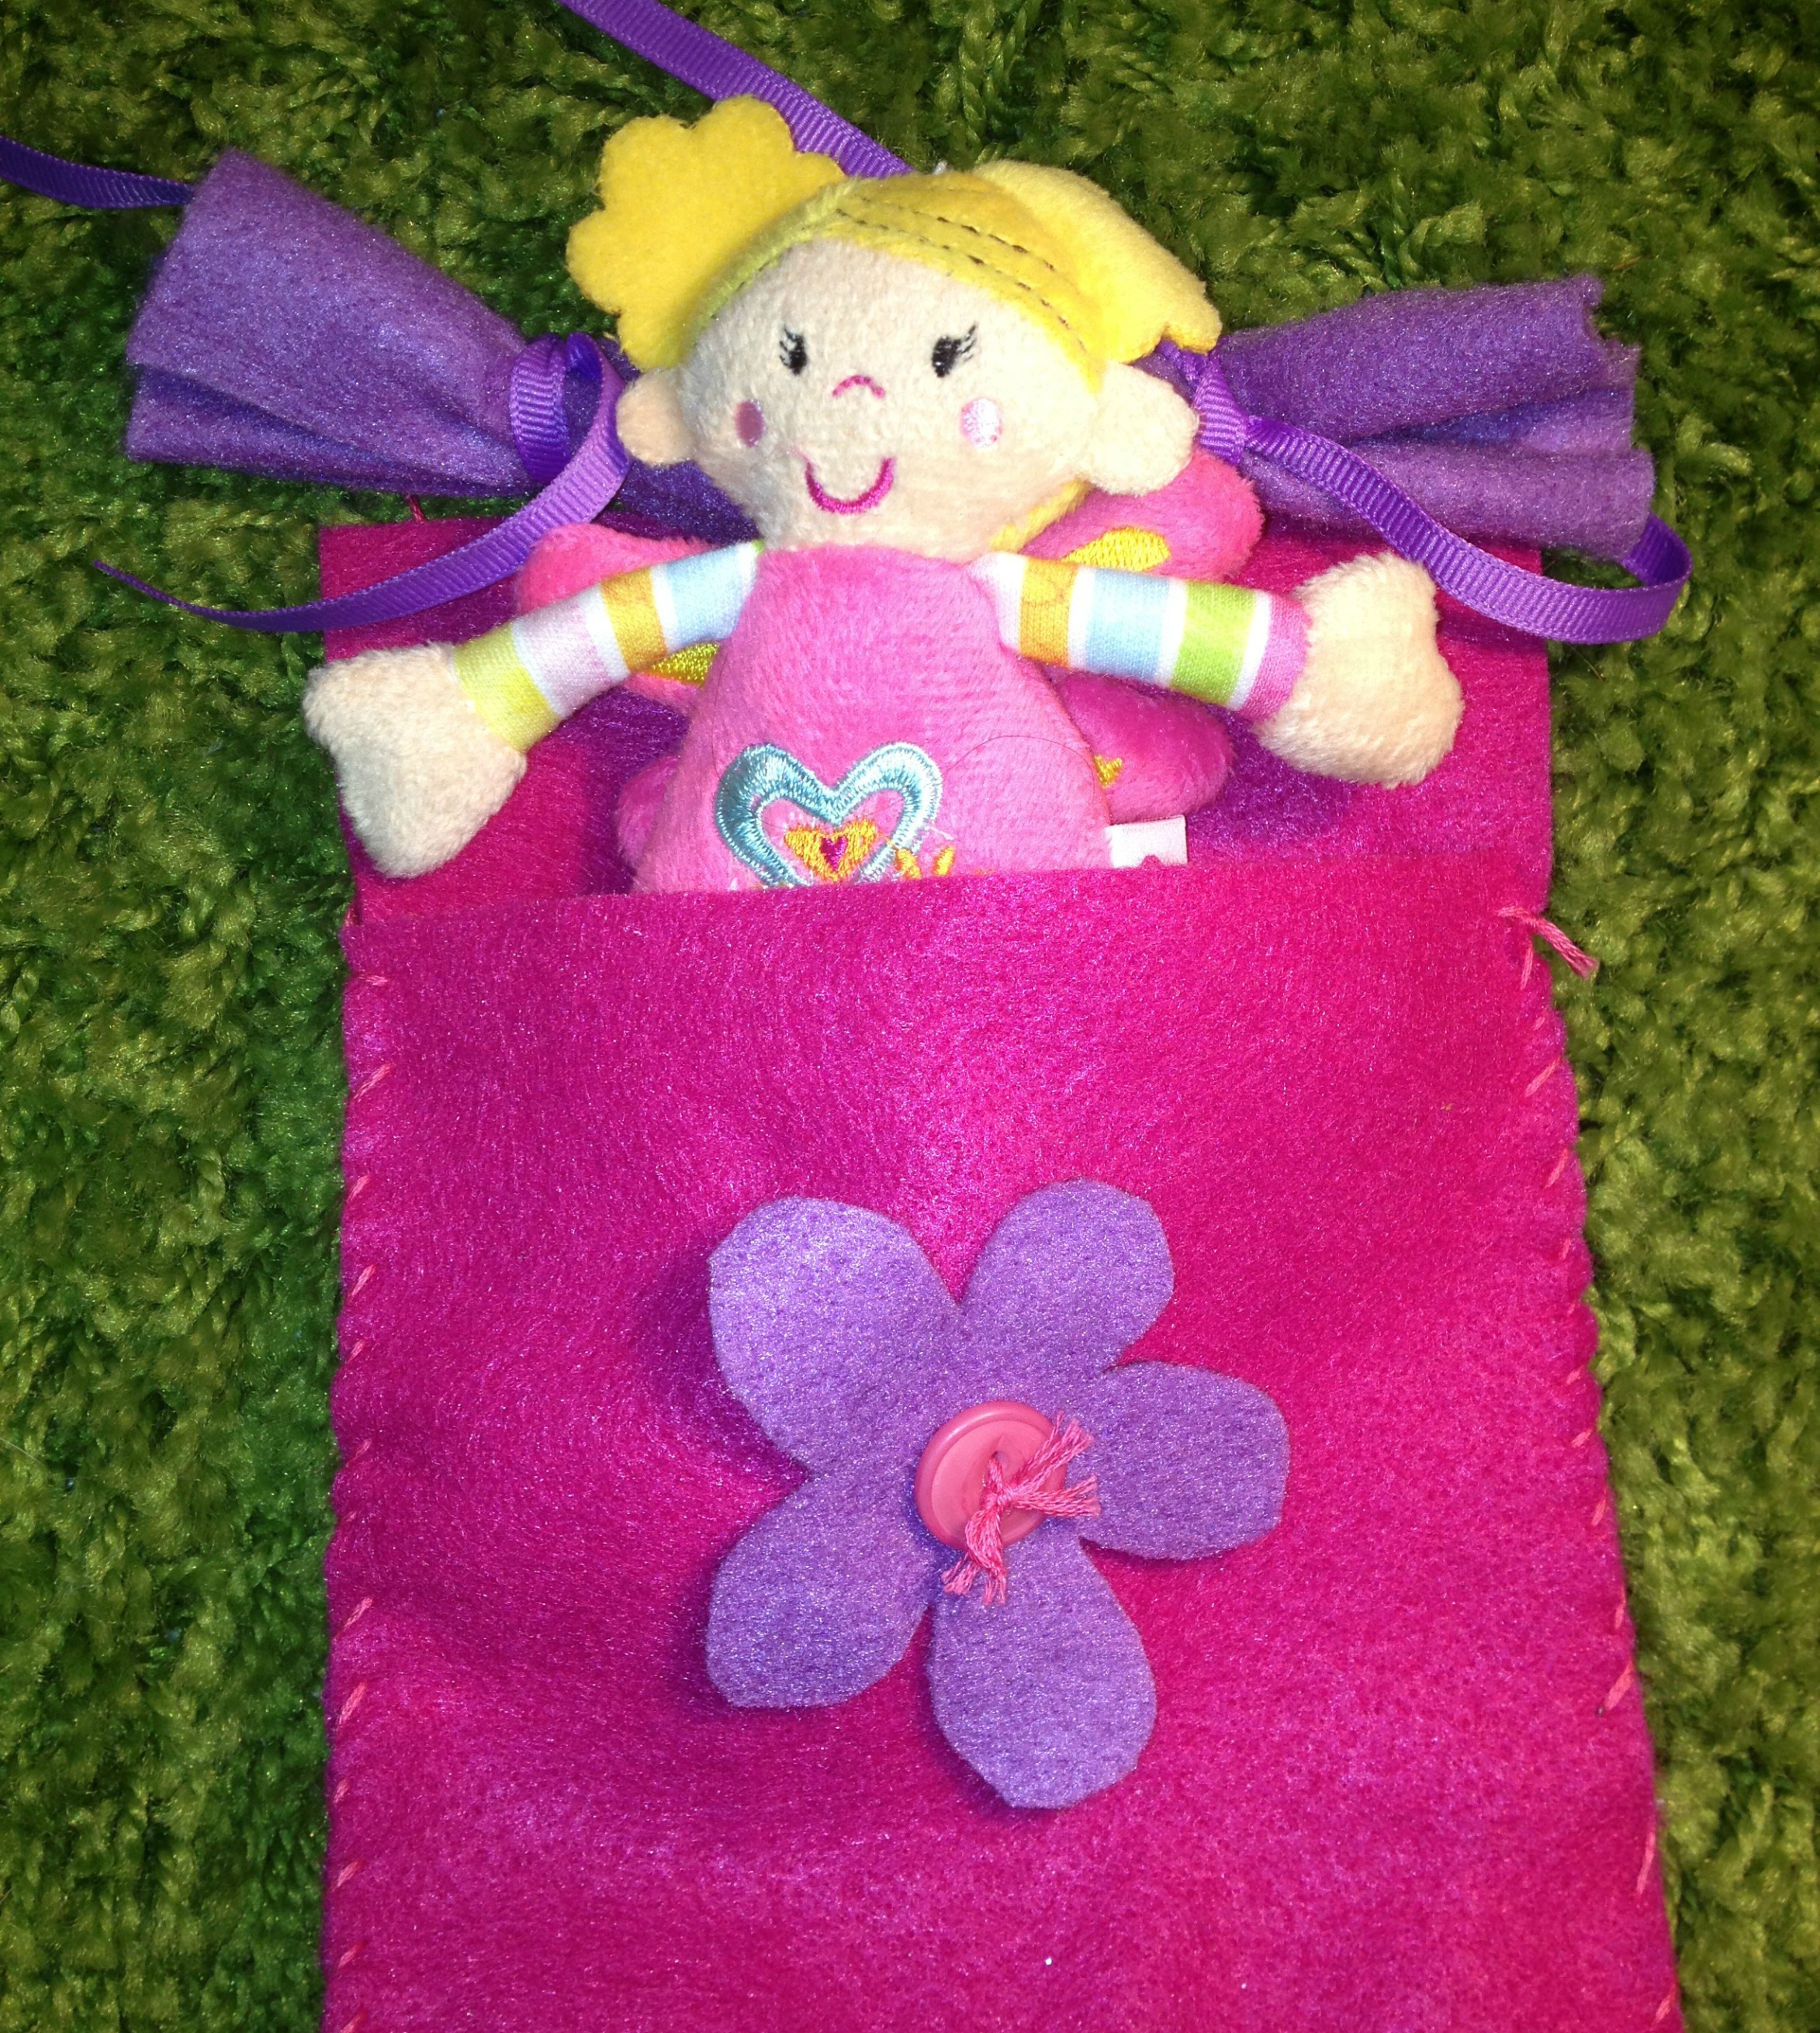
This little fairy sleeping bag is an adorable and simple project that requires very few materials to make. While I made it for the Adora fairy that I got at the Toy Fair in February, these instructions can be used to create a sleeping bag for all different little plush characters and dolls.
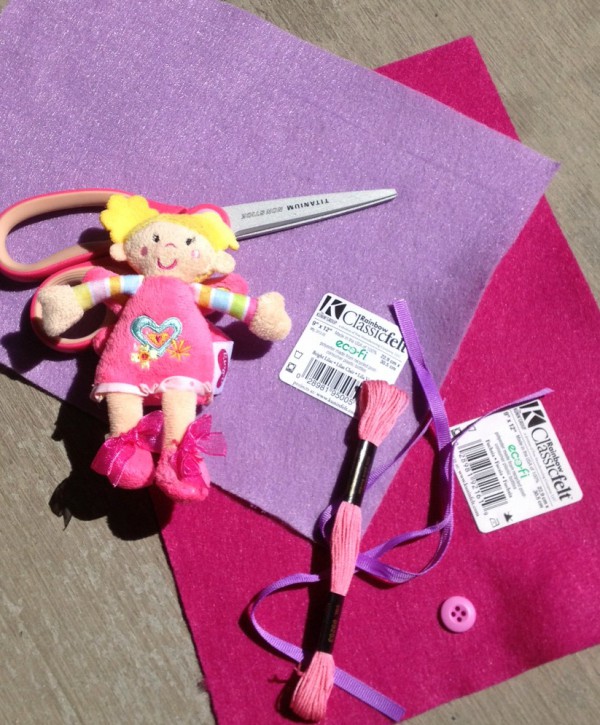
You will need the following materials:
9” x 12” craft cuts Kunin Classicfelt™ 1 Purple, 1 Candy Pink (one for the bag and one for the pillow/flower)
½ yard Ribbon, Purple
1 Button
1 skein Embroidery floss, Pink
Scissors, embroidery needle, Sharpie marker
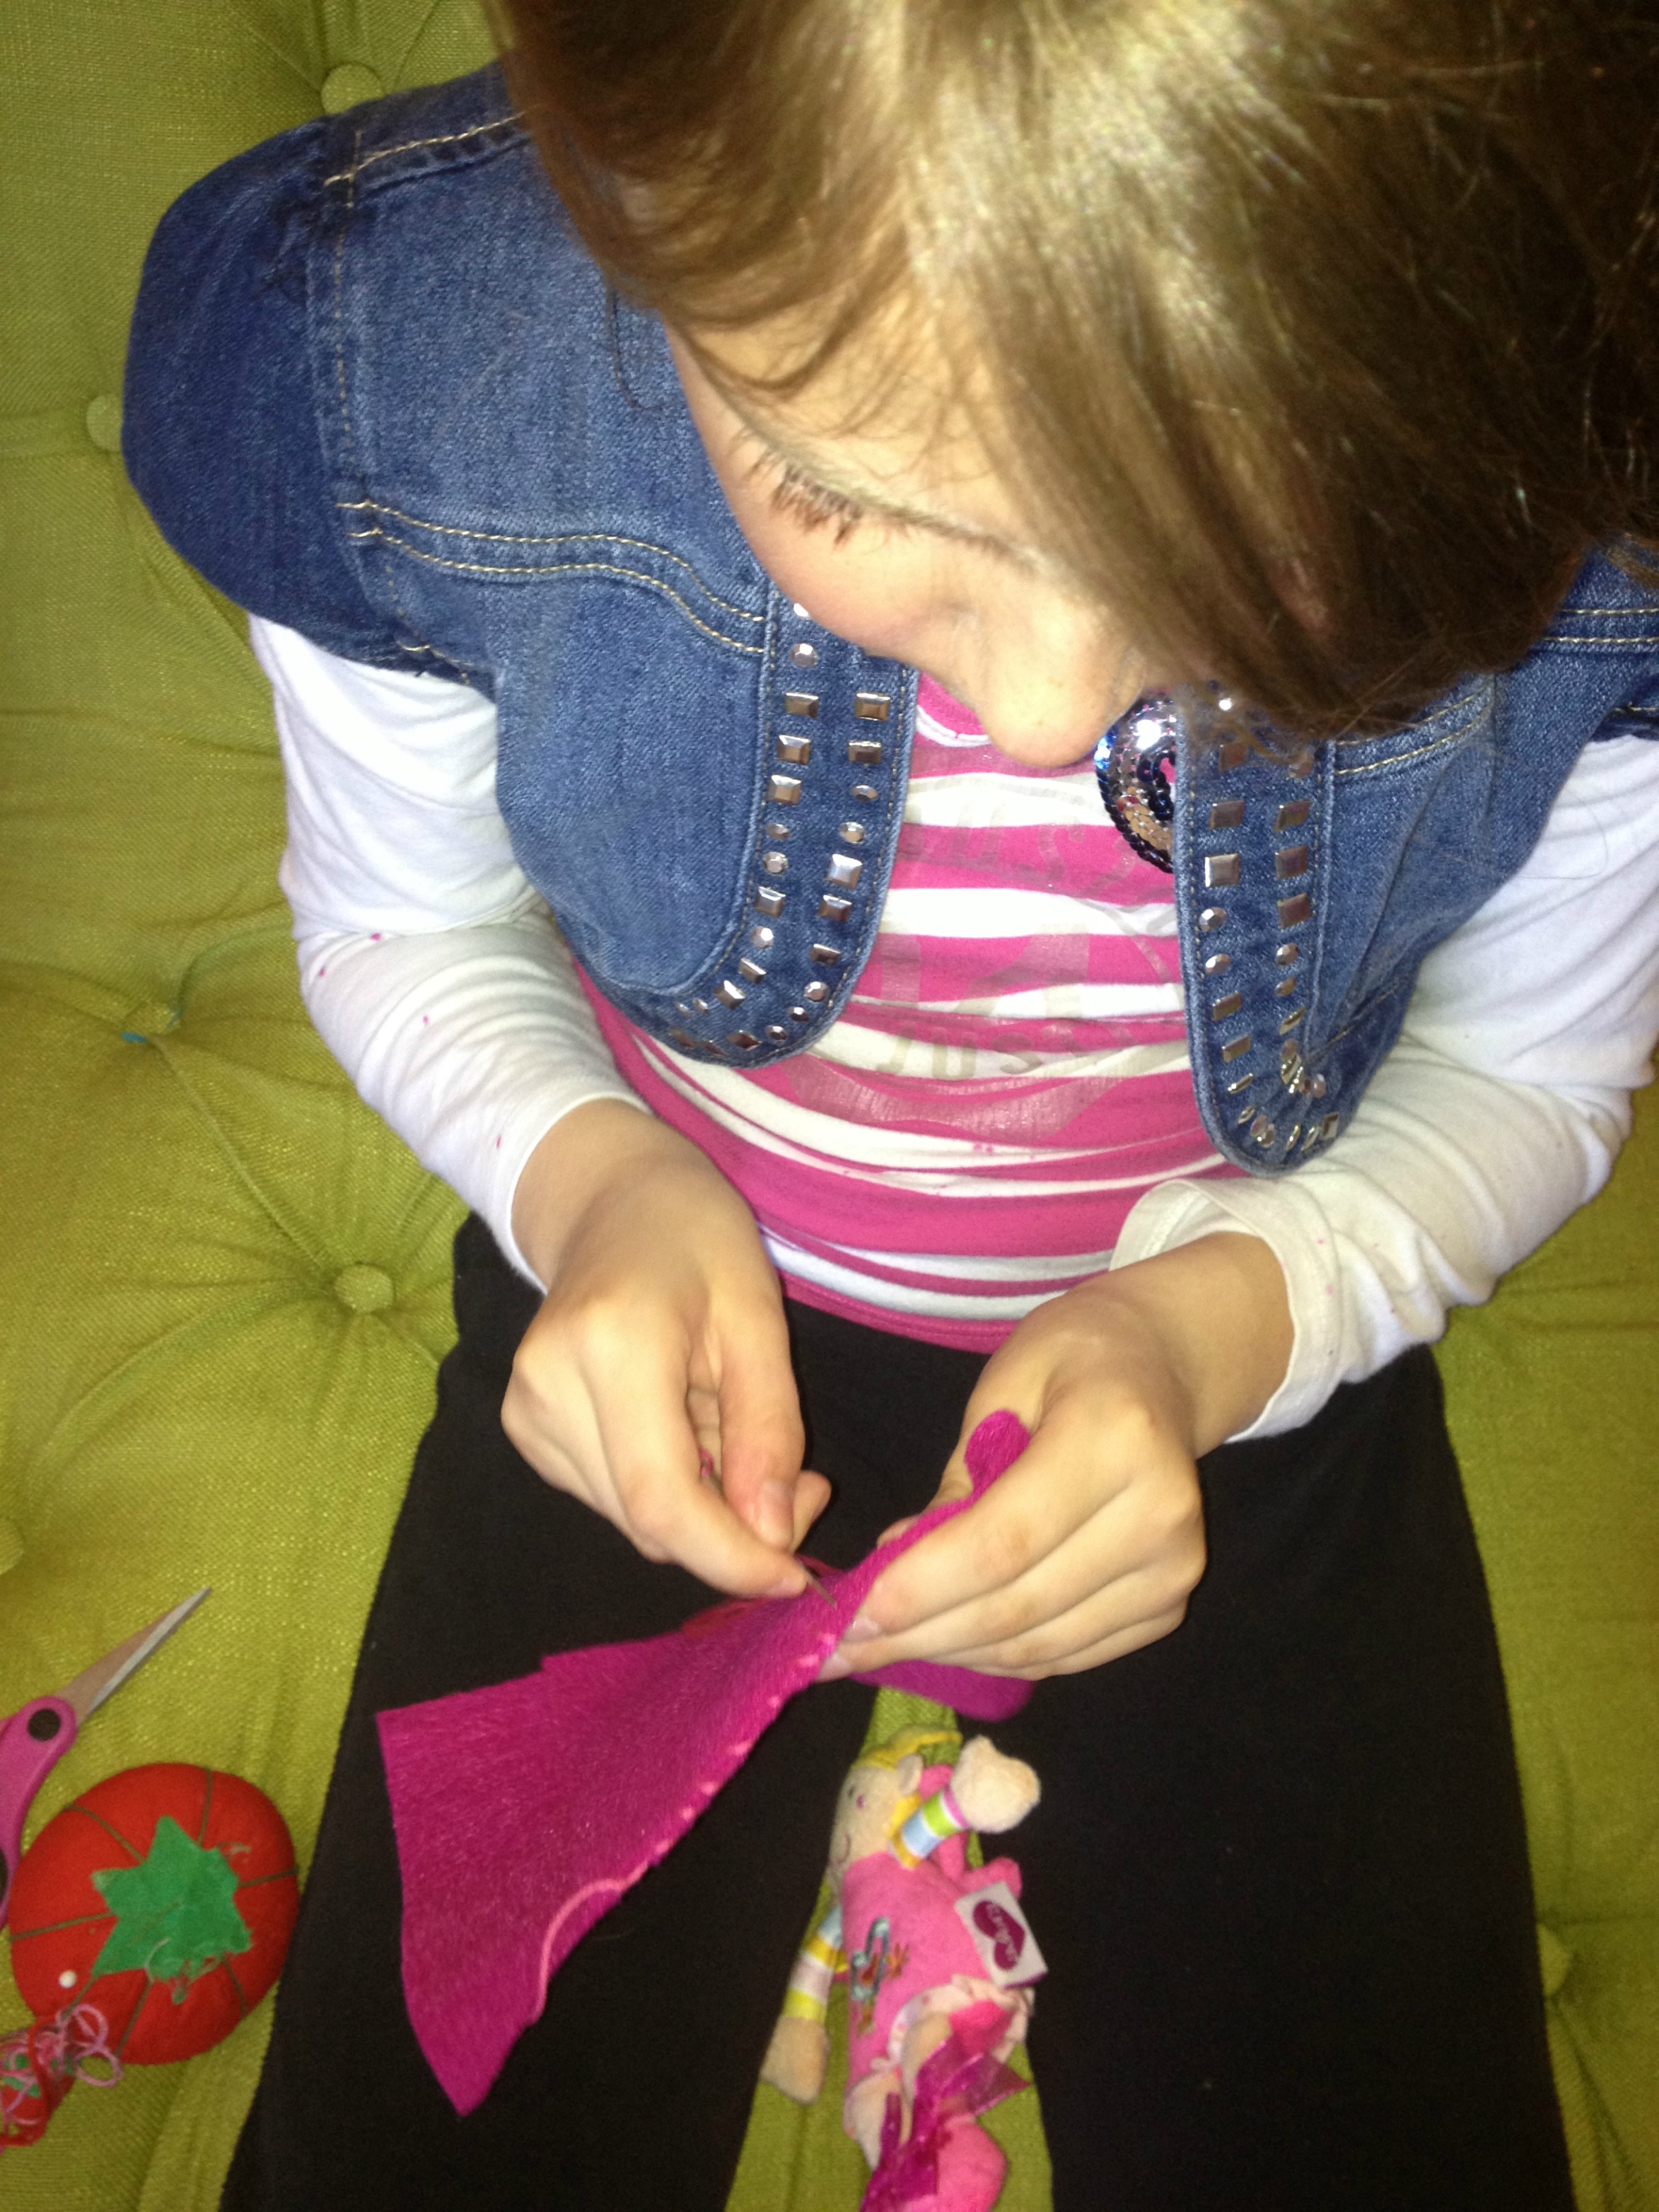
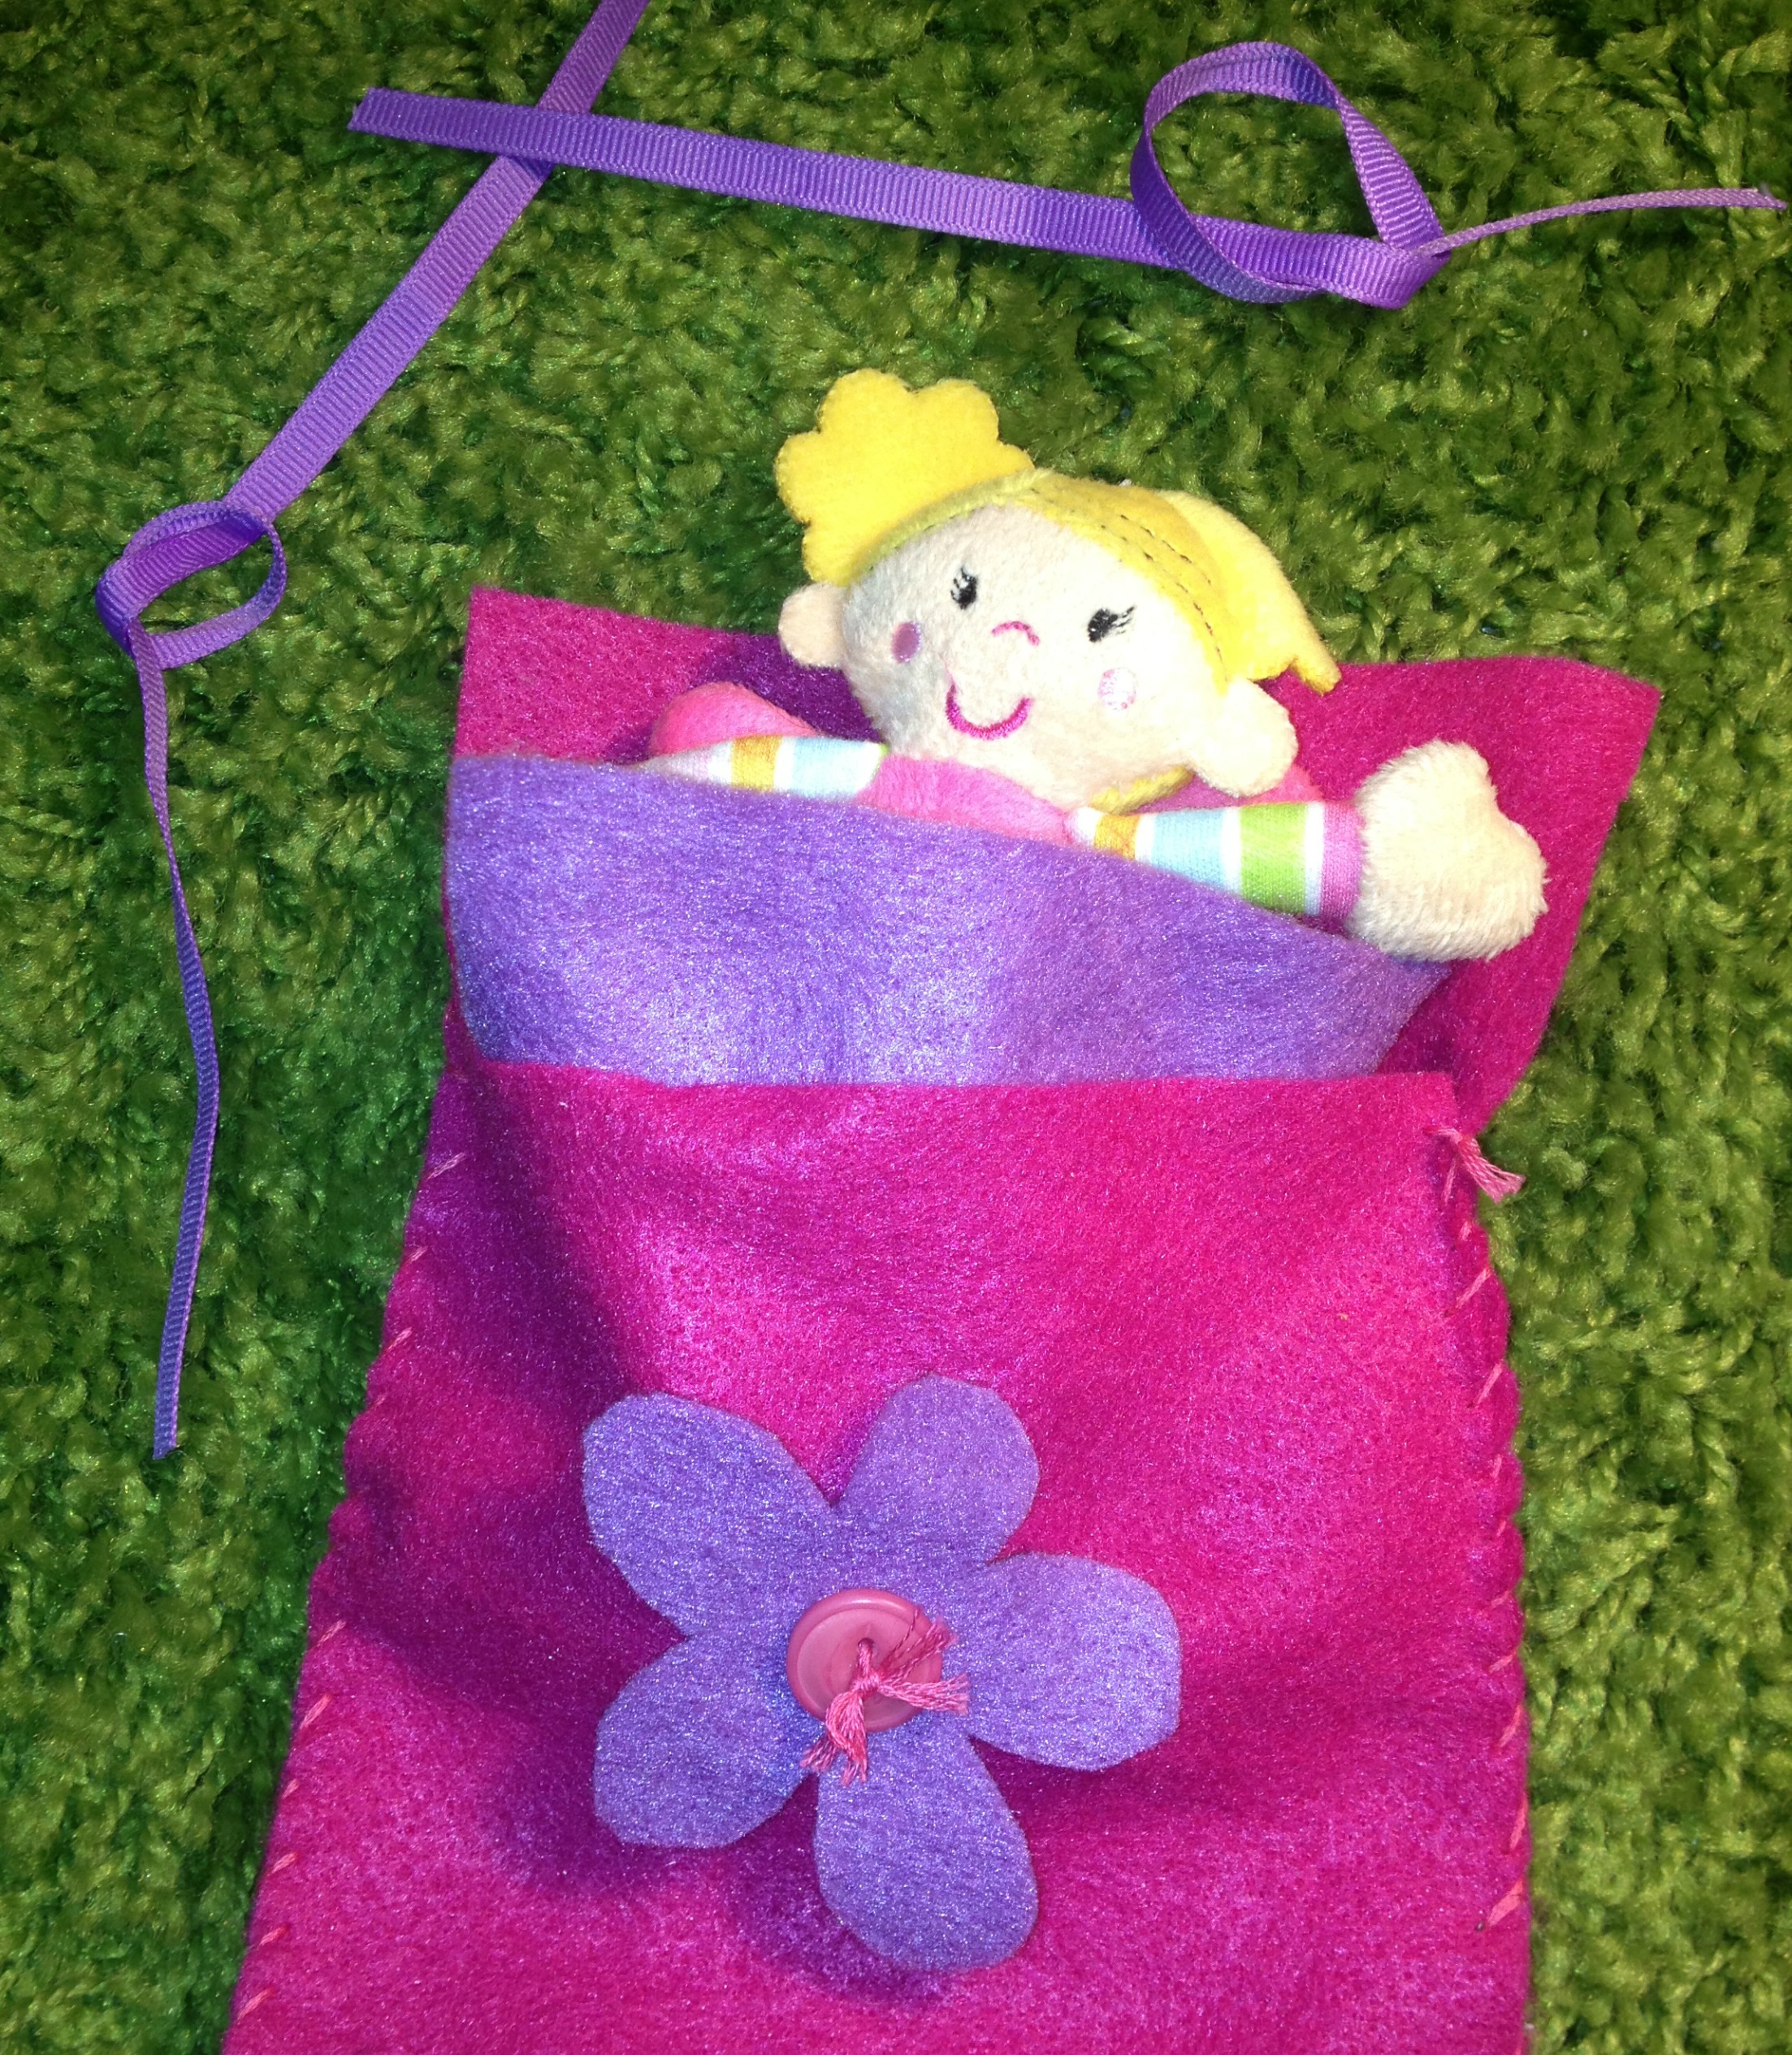
To make the sleeping bag, I set the fairy on the pink felt to measure, leaving an inch around her on all sides and cut two pieces of felt, one with an extra inch at the top for a place to put the pillow. Zoe (age 8) stitched around the two sides and the bottom with pink floss. She is a fabulous project helper and she loves to stitch felt best.
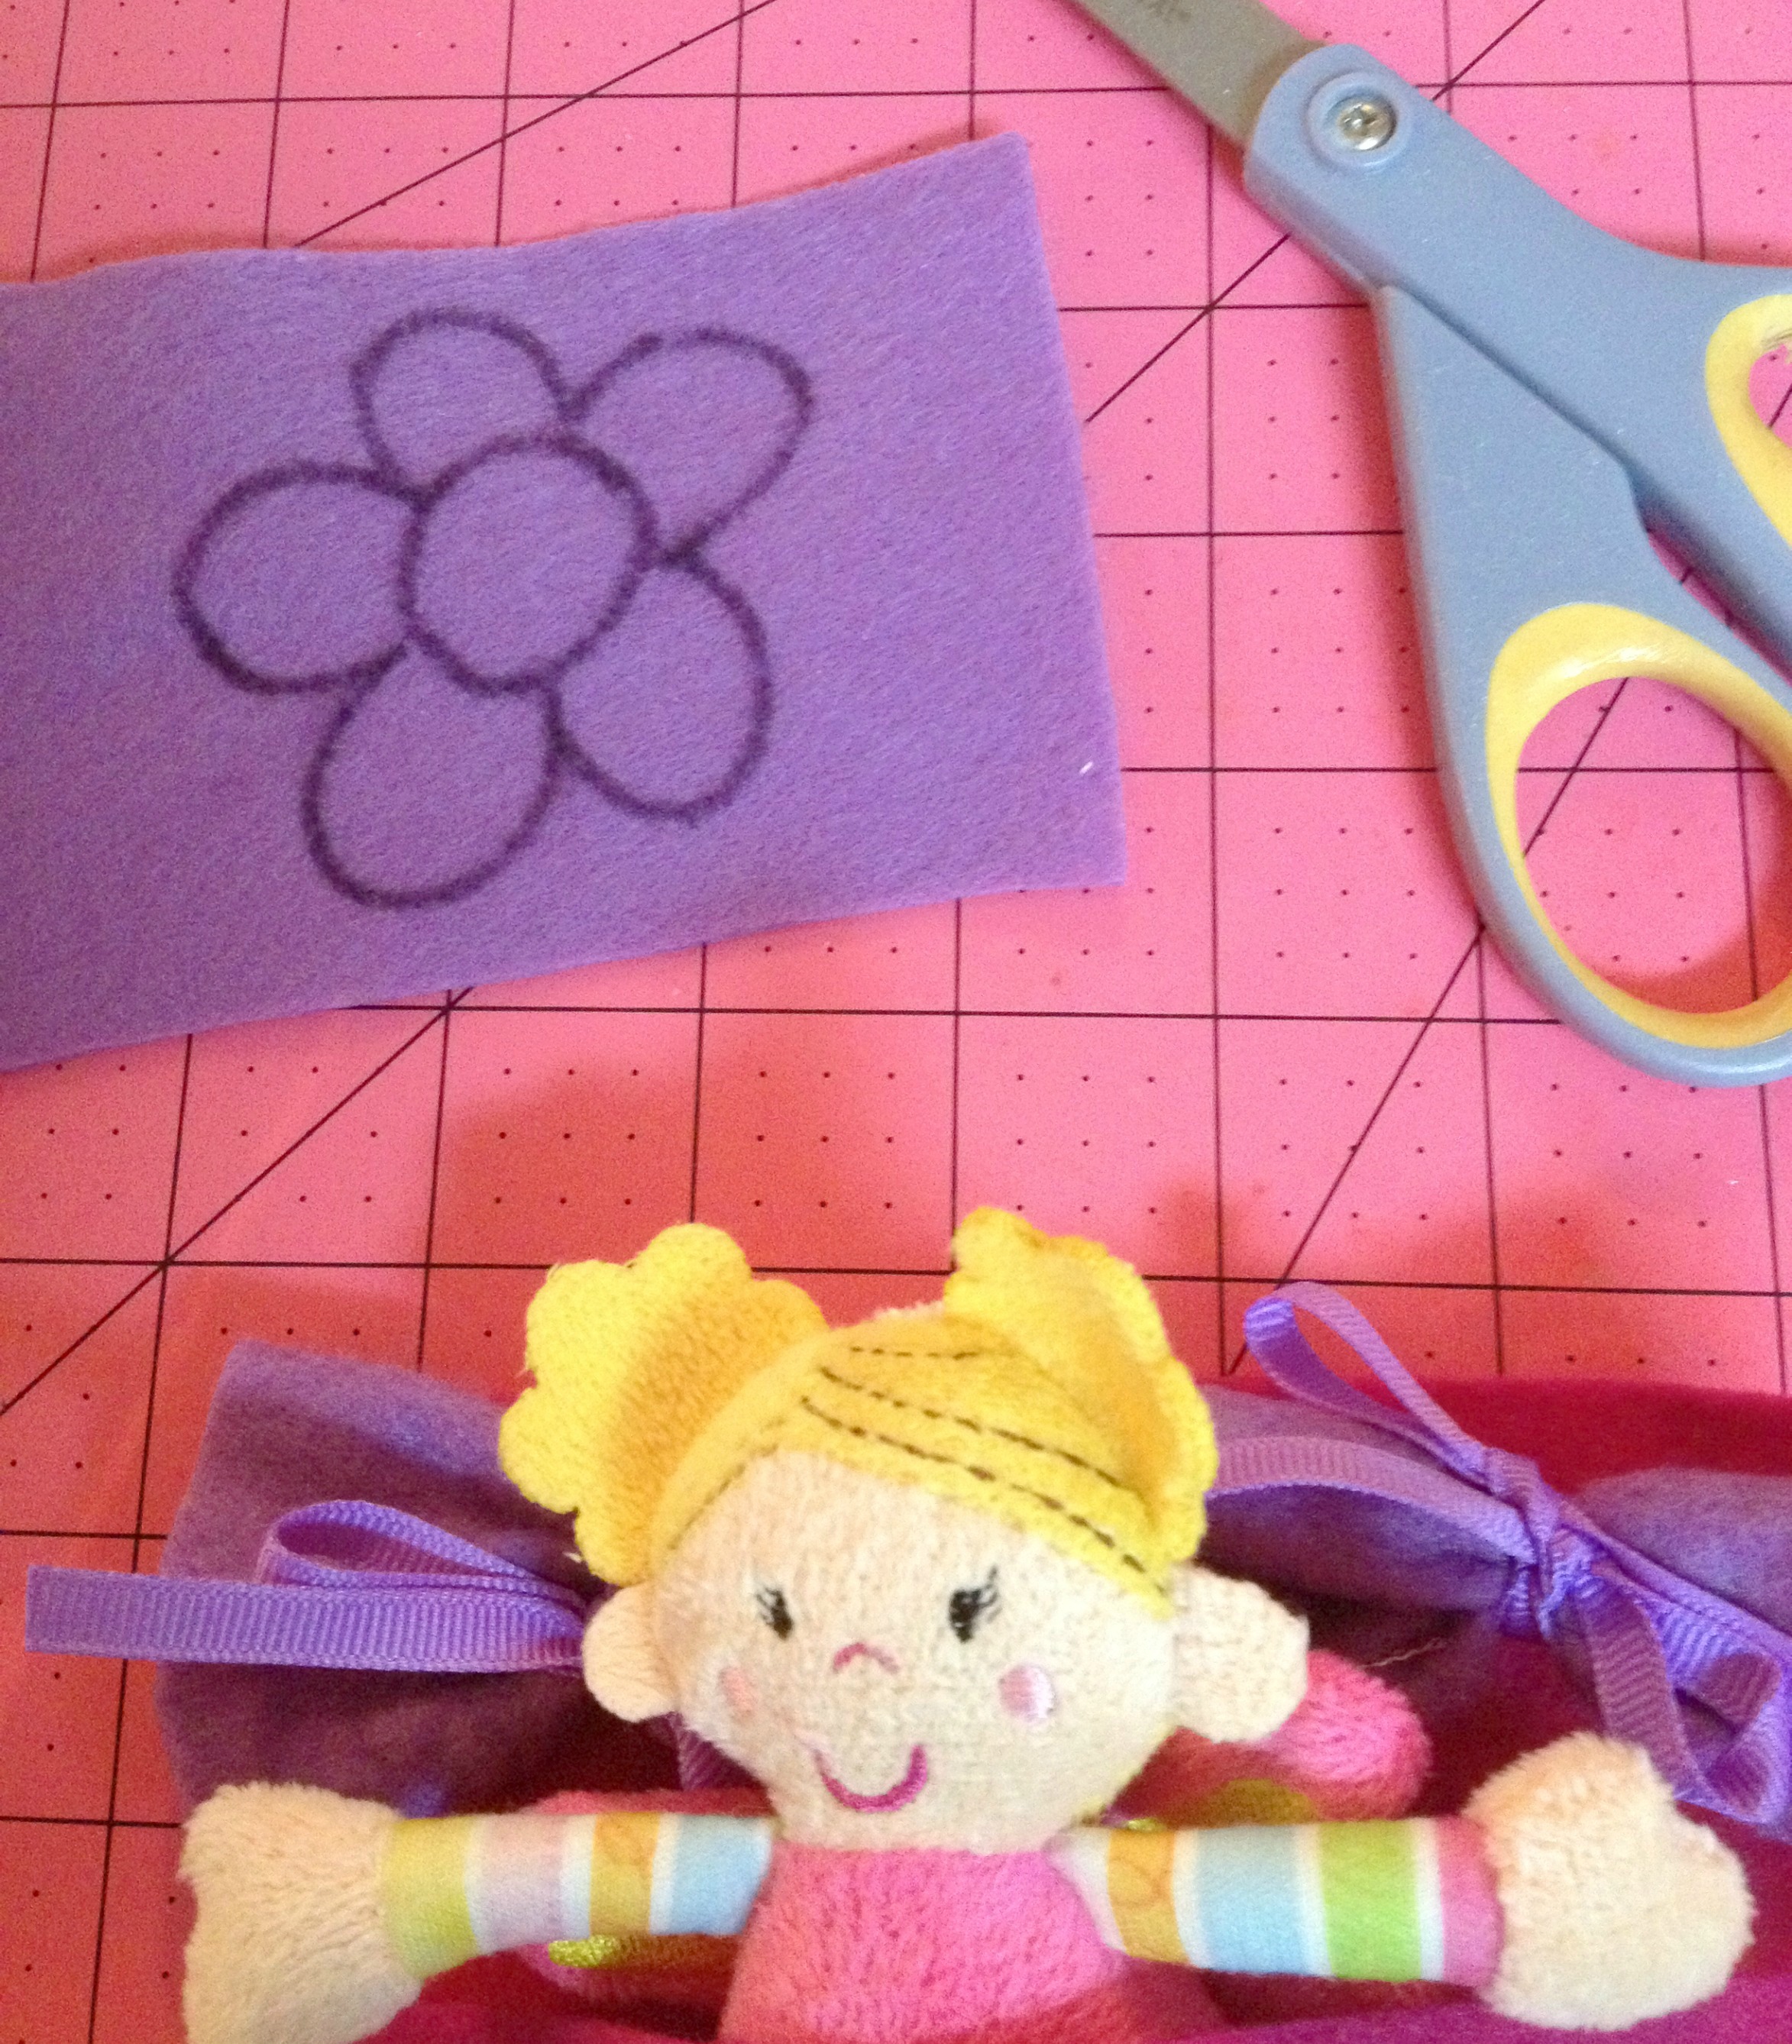
Then I doodled a flower on purple felt and cut it out. I stitched it to the front of the bag with a button for the center.
To make the pillow, I rolled a piece of purple felt the width of the sleeping bag by 2 inches up lengthwise and tied the ends with matching purple ribbon. It can be untied and serve as a little blankie for the fairy too.
I love to create projects that are cute and simple so that they can be easily recreated by kids of all ages. I think this one turned out adorable. I think I will make her a crown and wand next.
Cheers,
Laura Kelly