
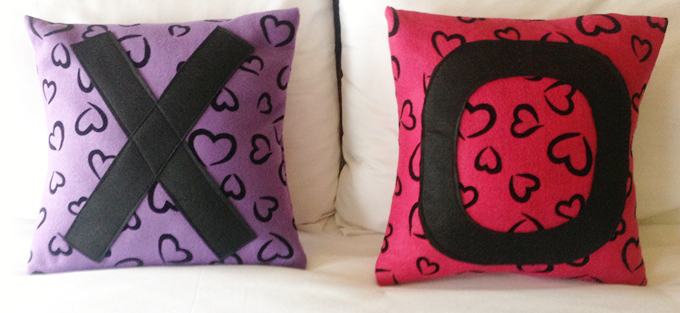
These XO or Hugs and Kisses pillows are a whimsical playful way to express a popular Valentine or anytime sentiment. There is a complete downloadable sheet with instructions available here on the website. I find history very interesting and was curious where did the XO symbolizing Kisses and Hugs originate. We use it nowadays to also denote love or good friendship when signing letters, emails or a text message.
Dating back to the Middle Ages when many common people could not read or write the X was placed on documents which they would seal with a kiss to prove their sincerity, “sealed with a kiss”. The X also represented the cross and it is believed that when Jews emigrated to North America some could not sign their names. They would not use the cross symbol so the symbol used was the O. There are other theories and speculation on the O as well. In any case they are now firmly entrenched today as XO denoting Hugs and Kisses. So let’s make a couple fun pillows!
Kunin’s Fancifelts are ideal for making a colourful punch to spruce or brighten up a dull room. Add a touchy of romantic whimsy with these quick and easy pillows!
These can be sewn or glued using a fabric glue, directions given for both.
You will need for each 12″ pillow:
14″ x 28″ piece of Princess Heart Fancifelt
9″ x 12″ piece of black Felt
1-12″ Pillow form
Fabri-tac glue by Beacon
Sewing Machine, scissors, cutting mat, rotary cutter, chalk, measuring tape, ruler, black thread, pins
How To:
1. For X cut two strips of 2″ x 12″ black felt. For O cut 2″ off bottom of black piece of felt. Fold in half. Cut curve piece off of the outside two corners.
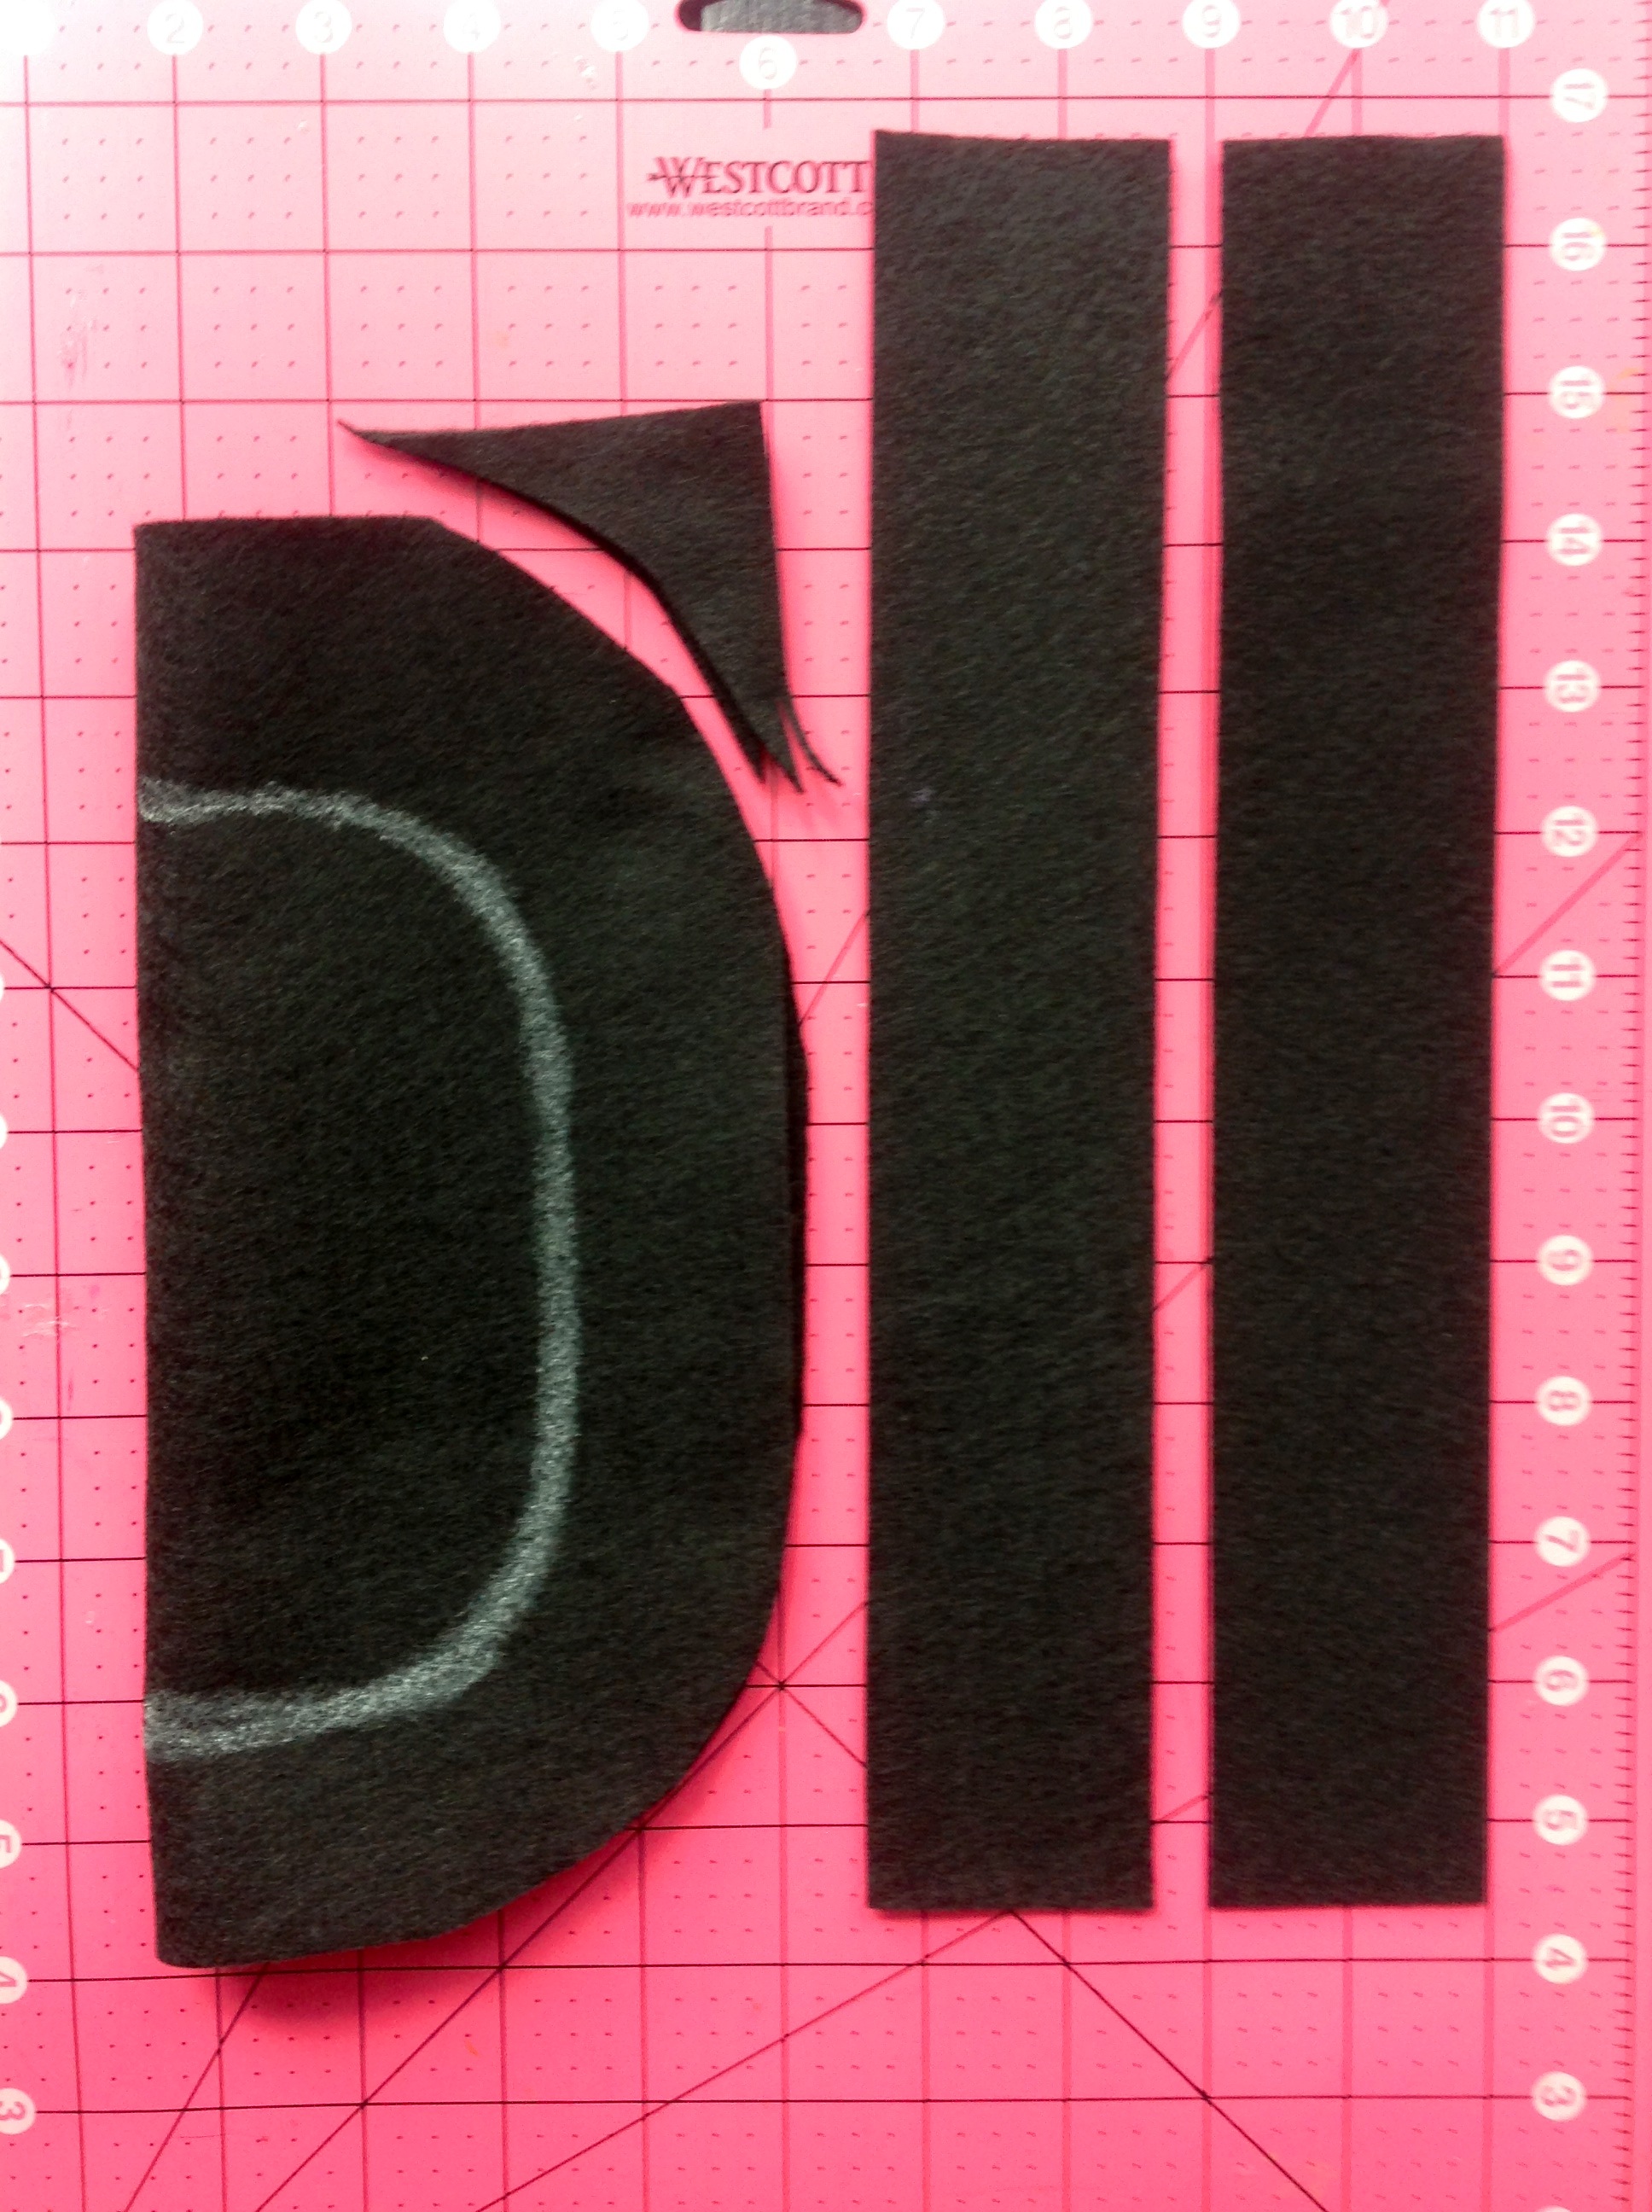
2. Draw a curved center for O keeping the width 2″. Cut out center along lines.
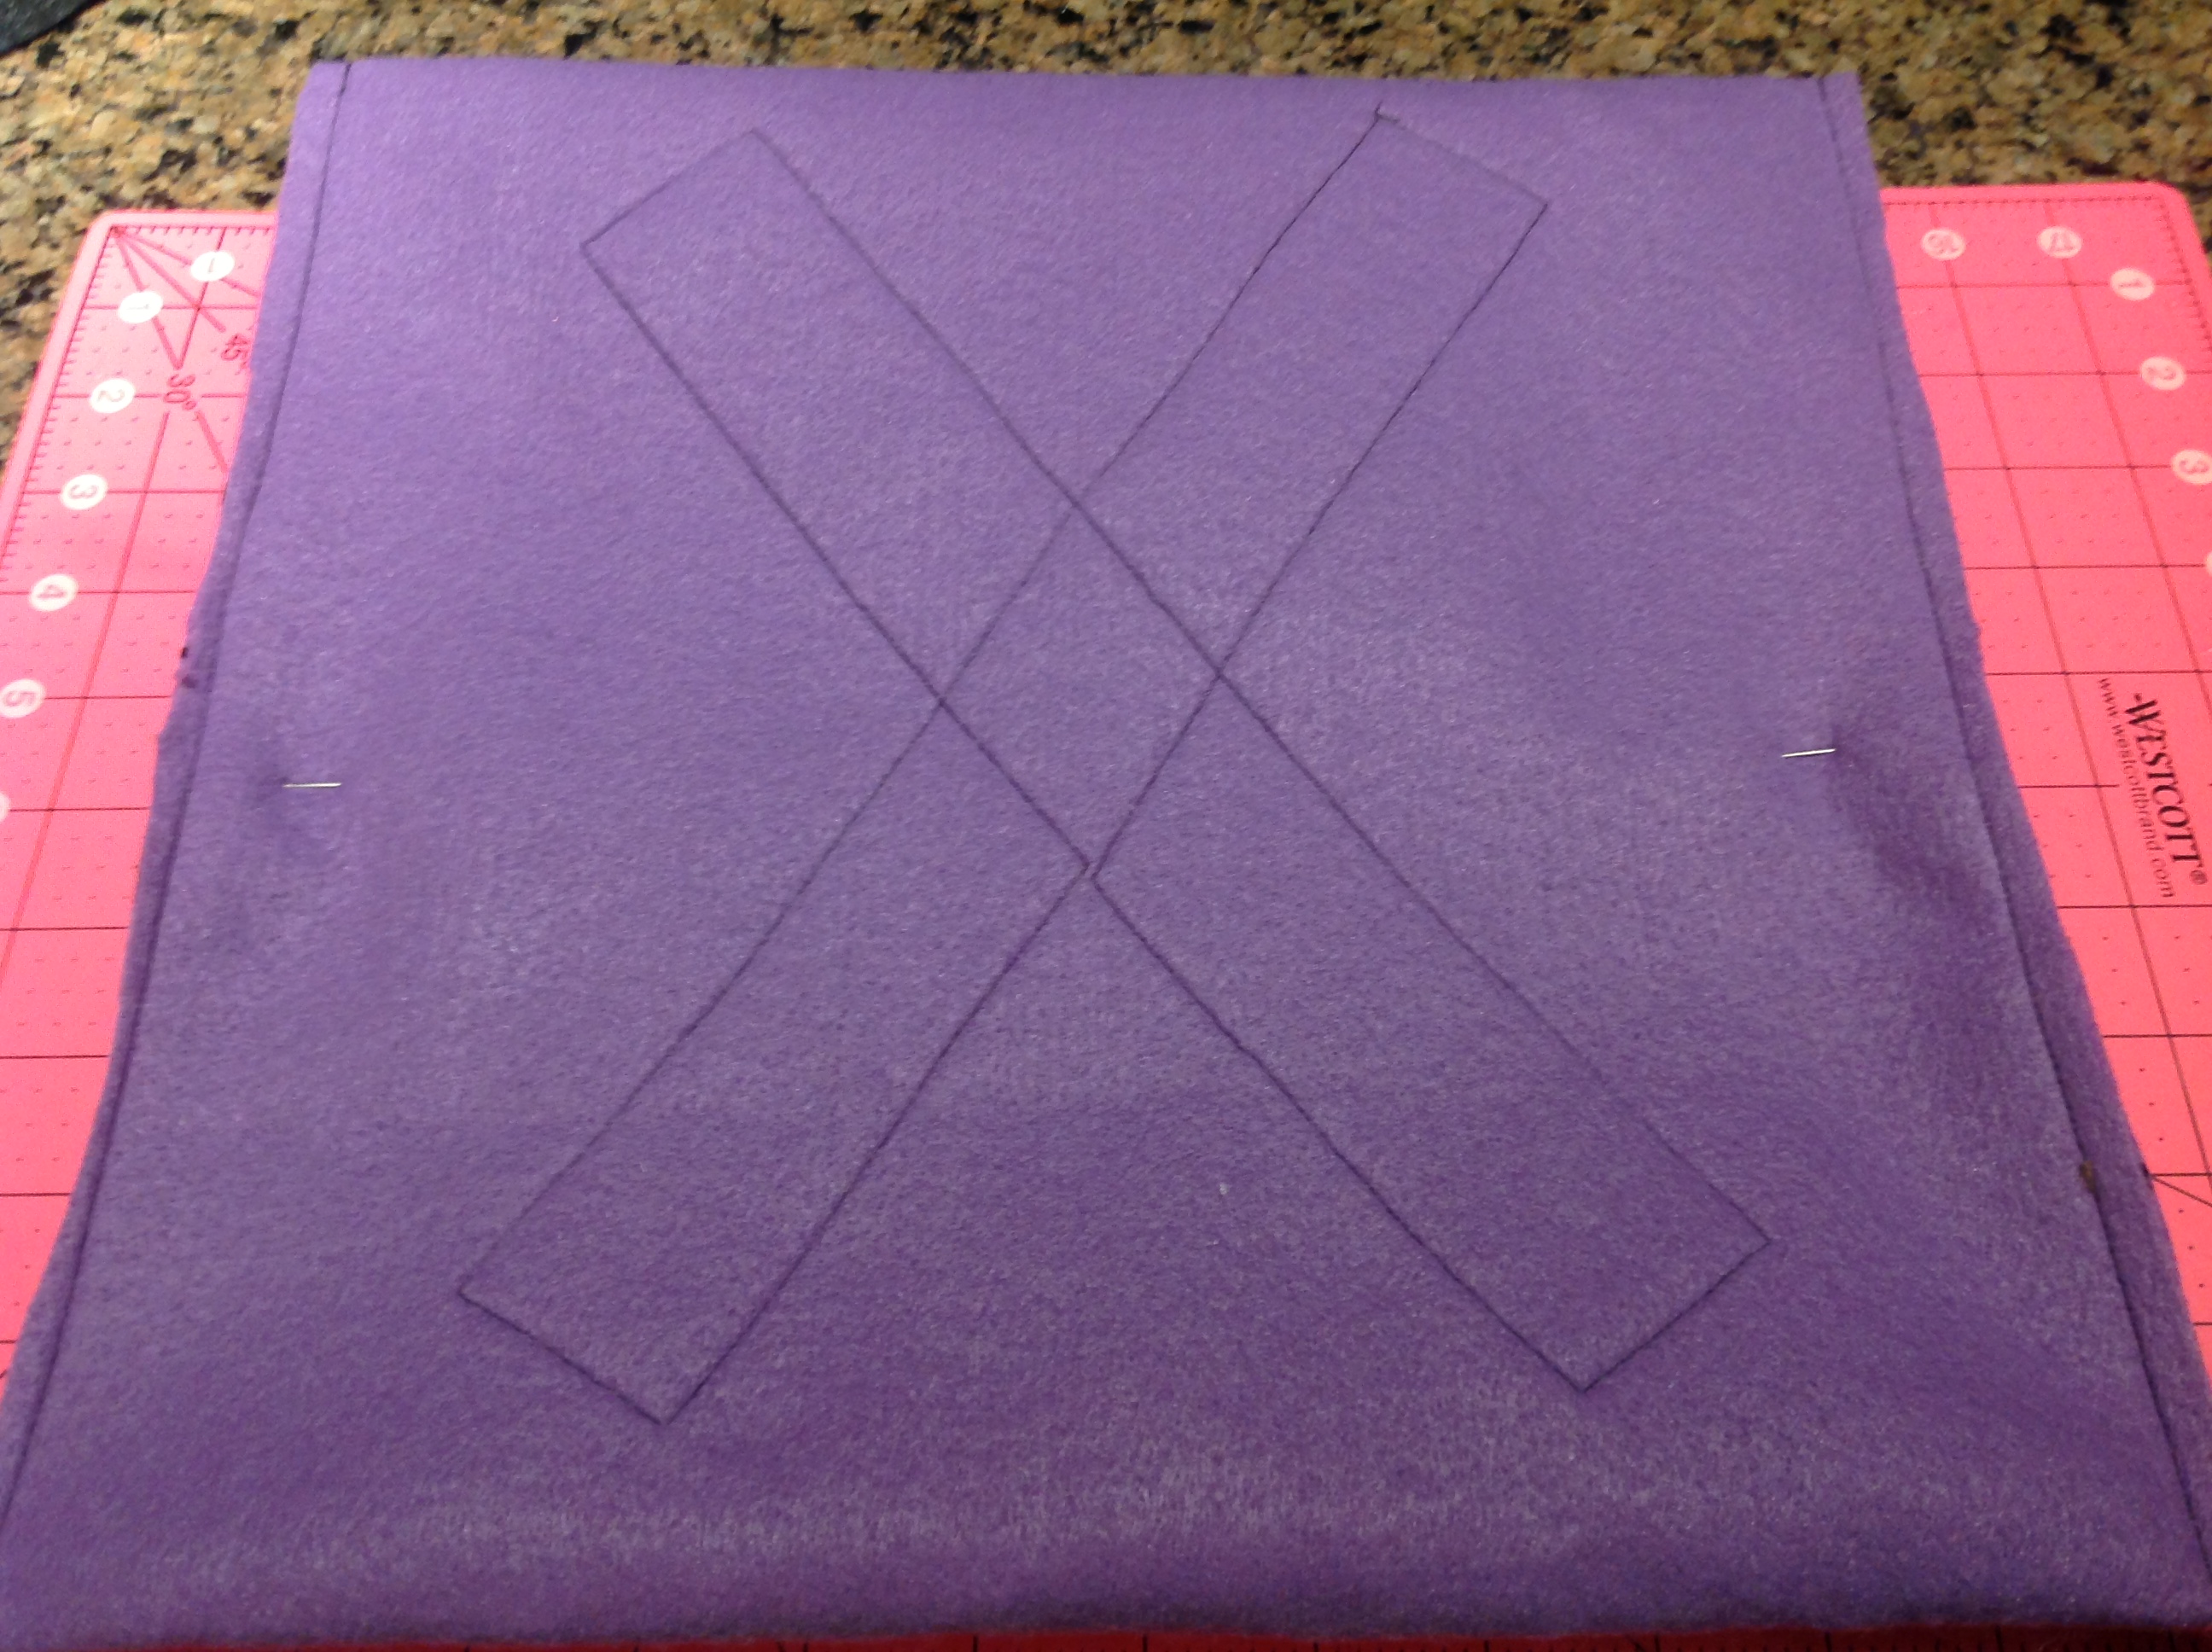
3. Measure 12 1/2″ in center of Fancifelt strip for pillow front. Finger press along both lines. Center and pin X and O on the right side of pillow fronts. Place a small amount of fabric glue down center of X and O to hold in place. Top stitch around the X and O.
4. With right side down fold ends of Fancifelt piece over each other along finger pressed fold. Sew a 1/2″ seam along each side.
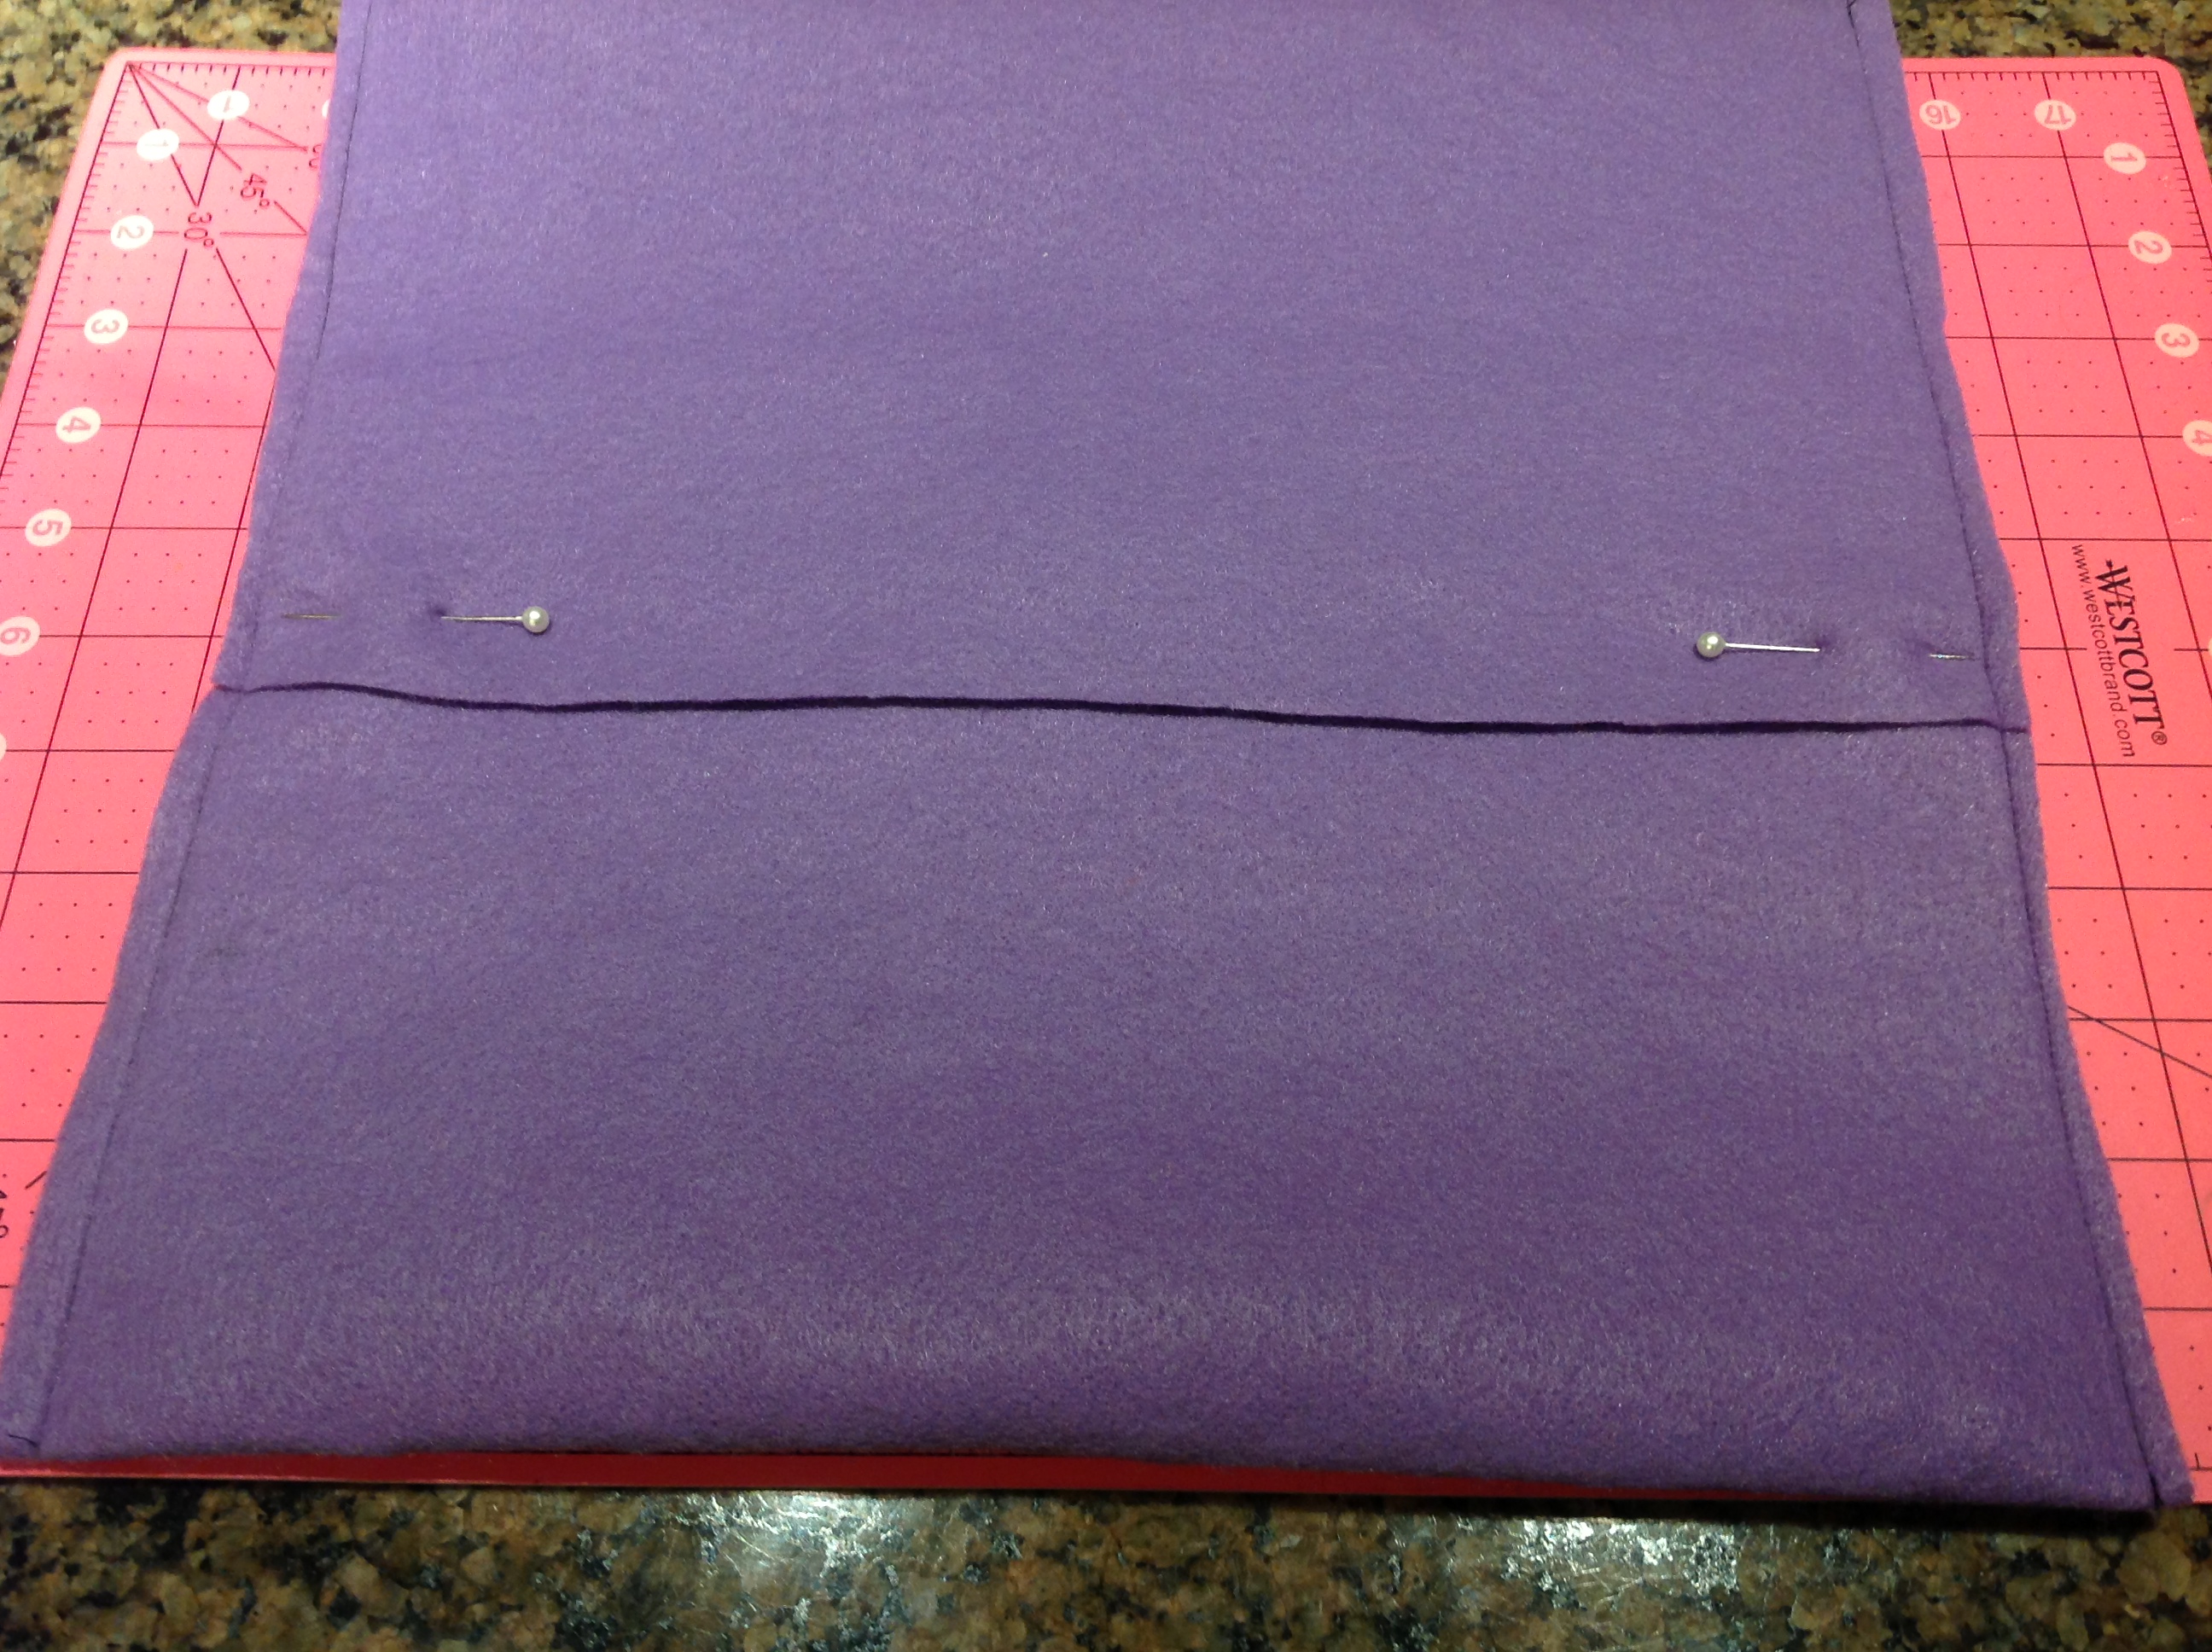
5. Turn pillow right side out and insert form.
If you are gluing only, follow directions as given and glue X and O completely to pillow front. Allow seams to dry thoroughly before turning.
These pillows could also be used as wall art by stretching over a Smoothfoam piece and gluing.
Keep creating! Debra